

Here are resources for WordPress users who want to use HTML and CSS to alter the structure, look, and feel of their themes, posts, and pages.
What HTML and CSS do
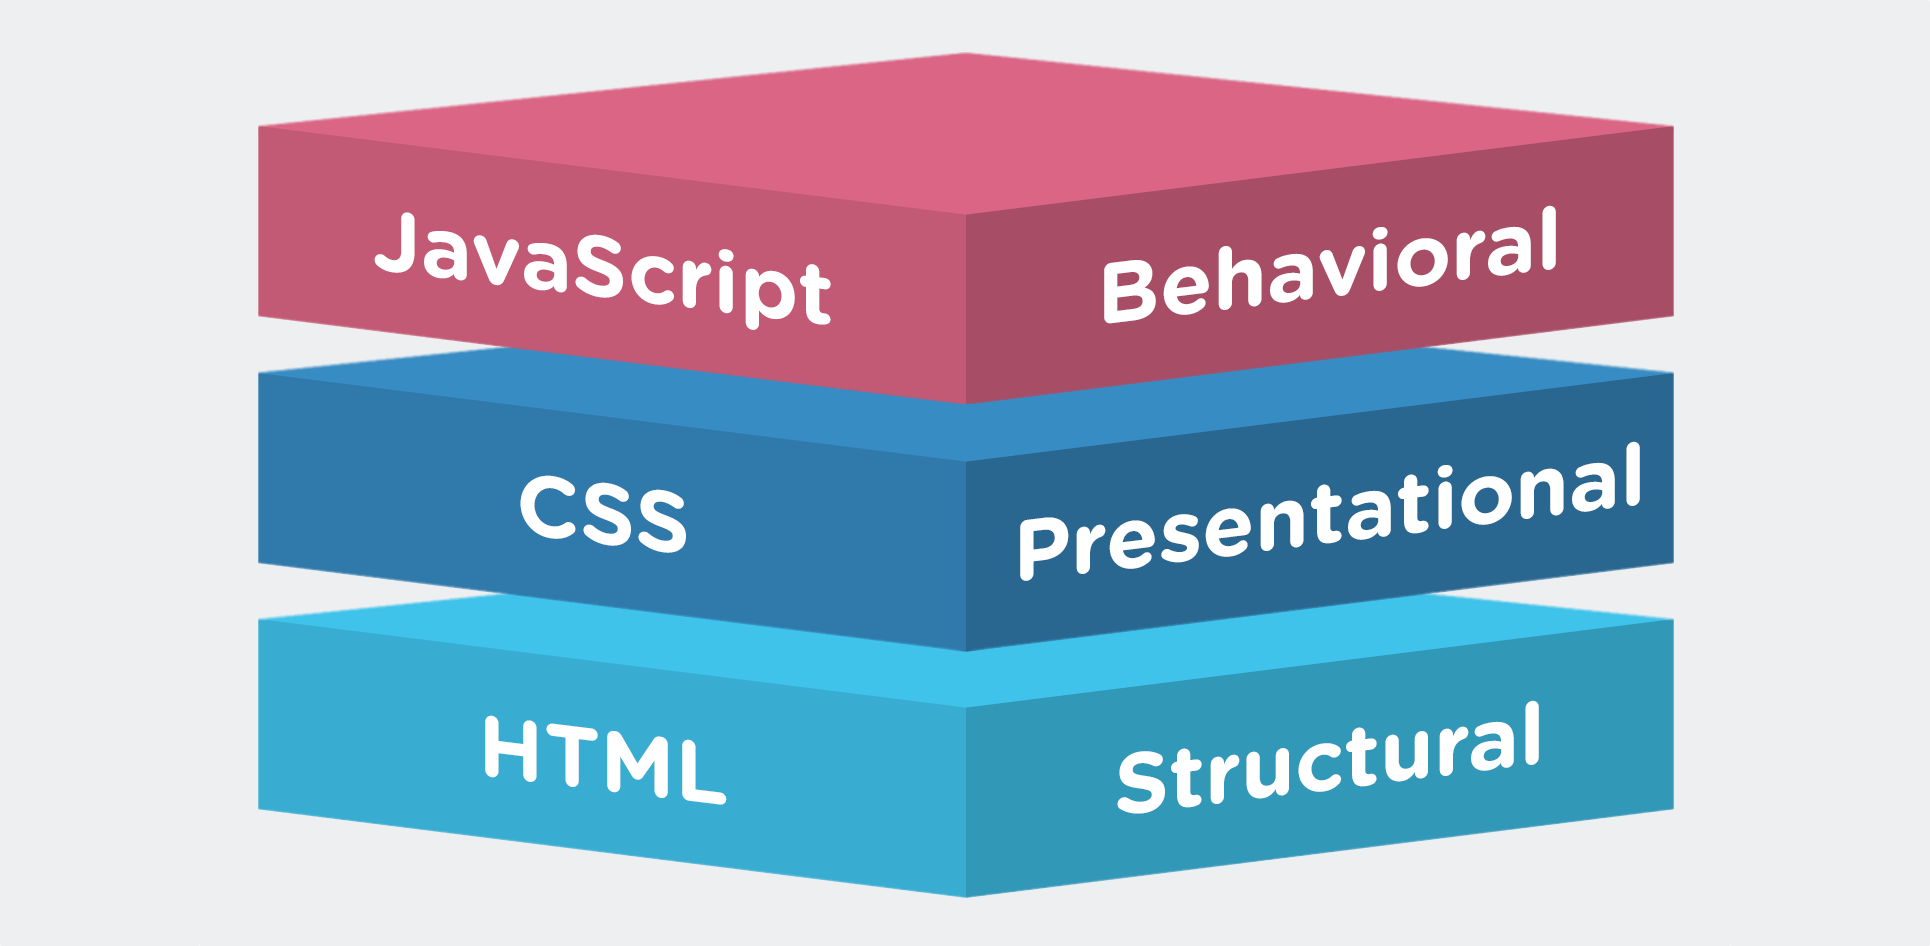
HTML is primarily for structure. HTML is the base level of most what you see right now in your internet browser. In order for any CSS or Javascript to work on content, that content must be first wrapped in an HTML tag.
CSS is primarily for presentation. CSS is essentially a shorthand way of giving instructions to HTML tags on how they should look and where on they page they should show up. CSS does include some behavioral interactions components like hover and on-click actions.
Javascript is primarily for behavioral interaction, but its scope has grown significantly in the past few years. We won’t cover Javascript in this guide. It requires its own guide, which will come later.
Resources
My favorite resource for learning the basics of HTML and CSS from scratch is W3Schools. Their examples are clear and they have widgets where you can test out the syntax and poke around what already works to learn more.
Here is the W3Schools HTML tutorial. I recommend completing the HTML HOME through HTML Symbols. This will cover 95% of the HTML you will encounter in WordPress.
Here is the W3Schools CSS tutorial. I recommend completing CSS HOME through CSS Forms. This will cover the basics of the CSS that you will see in WordPress. Pay particular attention to the Box Model. Once you feel comfortable with the basics, feel free to move on to the CSS 3 section, which builds on the basics.
After you’ve gotten your feet wet with W3Schools, test your knowledge by working your way through Codecademy’s HTML and CSS course.
How to use these resources
The best way to learn HTML and CSS is by actually writing it, refreshing the page, and seeing what happens. A good rule is to spend 3 hours applying for every 1 hour reading/taking notes.
Get yourself an easy-to-use text editor like Atom, make a new file names hello.html, and then start writing. After you’ve written your first line, save the file and open it in your web browser to admire your handiwork.
Then go back to Atom, make some changes, save, and then hit Refresh in your browser. Repeat.
To find which style definitions and HTML tags apply to what you see on your favorite websites, learn how to use Chrome’s debugger to find them. After a little practice you’ll be able to quickly identify the underlying markup and apply your own overrides and fixes.
Where you’ll use HTML and CSS in WordPress
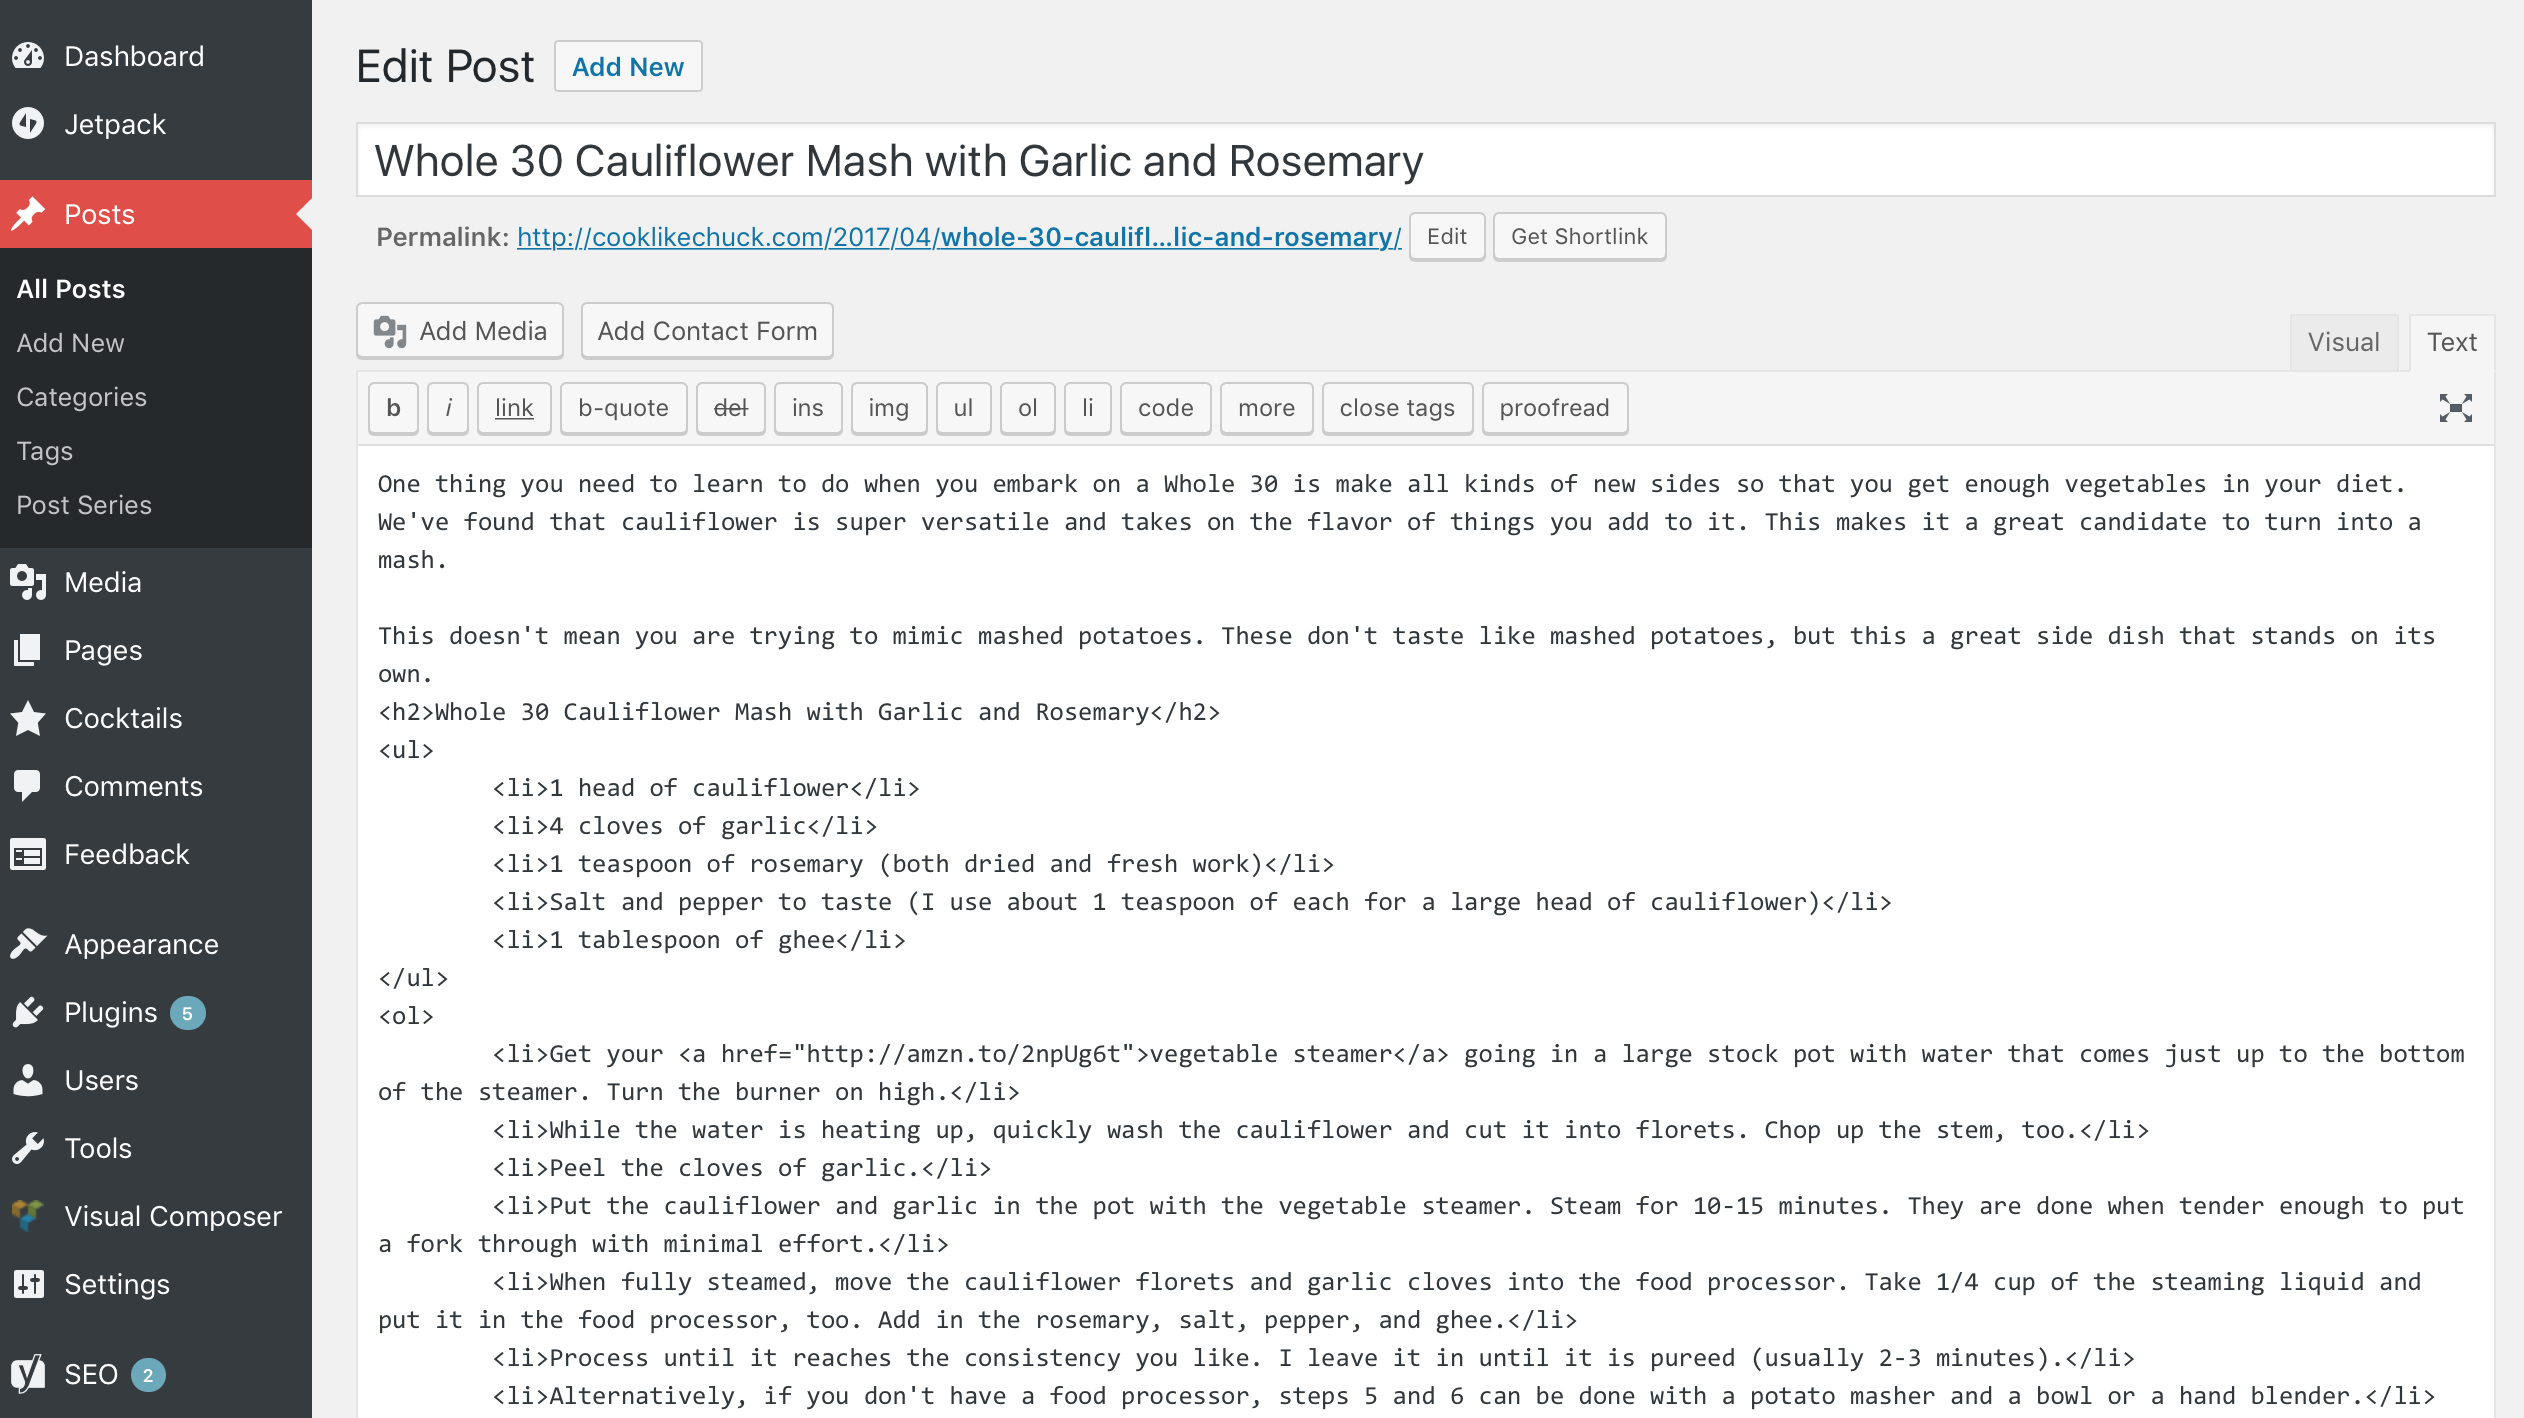
You’ll primarily use HTML in the content editor of Posts and Pages. When you are editing a post or a page, the editor has two options: Visual or Text. Visual comes up by default. If you switch over to the Text tab, you’ll see that your headers, lists, etc are marked up with HTML:
CSS is usually defined and applied in the style.css file inside your WordPress theme folder. That said, if you are just starting out, I recommend you leave the style.css file alone and install the Jetpack plugin. It includes a module for adding custom CSS to your theme. There are two benefits for doing it this way:
- Beginners should stay away from theme files because you can easily crash your site if you don’t know what you are doing. Changes made in the Jetpack CSS module don’t change your theme, they just apply changes on top of it. These changes are easy to remove, so you don’t have to worry about crashing your site.
- These changes are stored in the database, so they’ll bypass cache. Most hosts aggressively cache theme files, so changes made directly to
style.cssmight take some time to show up. Changes applied via Jetpack’s CSS module take effect as soon as they are saved. These changes are also usually applied last, so they take precedent over what is defined in your theme.
The free version of the Jetpack plugin is all you need. Once it is installed, you can click “enable recommended options” and the CSS module should be included in that. If it isn’t, go to Jetpack > Settings > Appearance and toggle on Custom CSS.
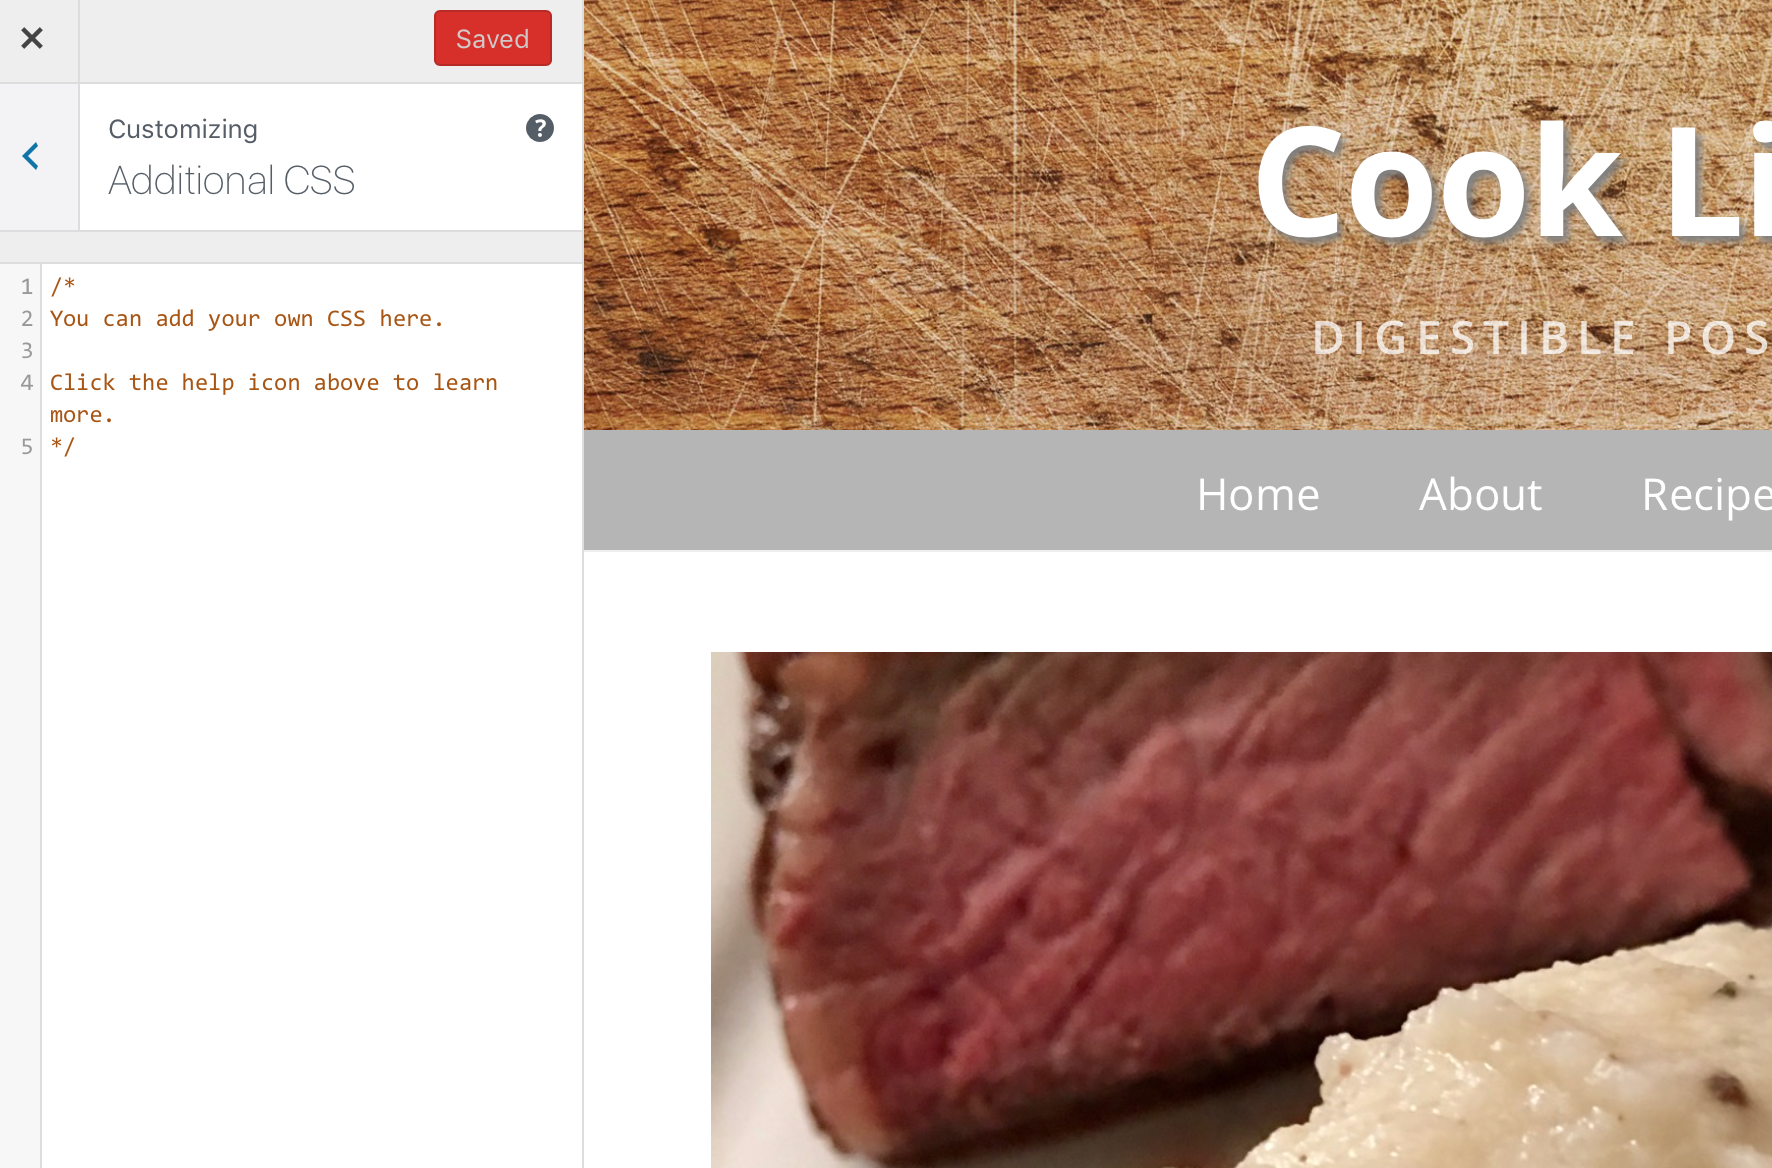
Once it is turned on, you can go to Appearance > Customize in your WordPress Admin sidebar. In the Customizer you’ll see an area for Additional CSS:
Questions
If you have any questions, drop them below in the comments! Or, you can ask them on Stack Overflow and Quora like the rest of the web does 🙂
Leave a Reply