Archives

Category: Projects

  • Bread Lames


    ,

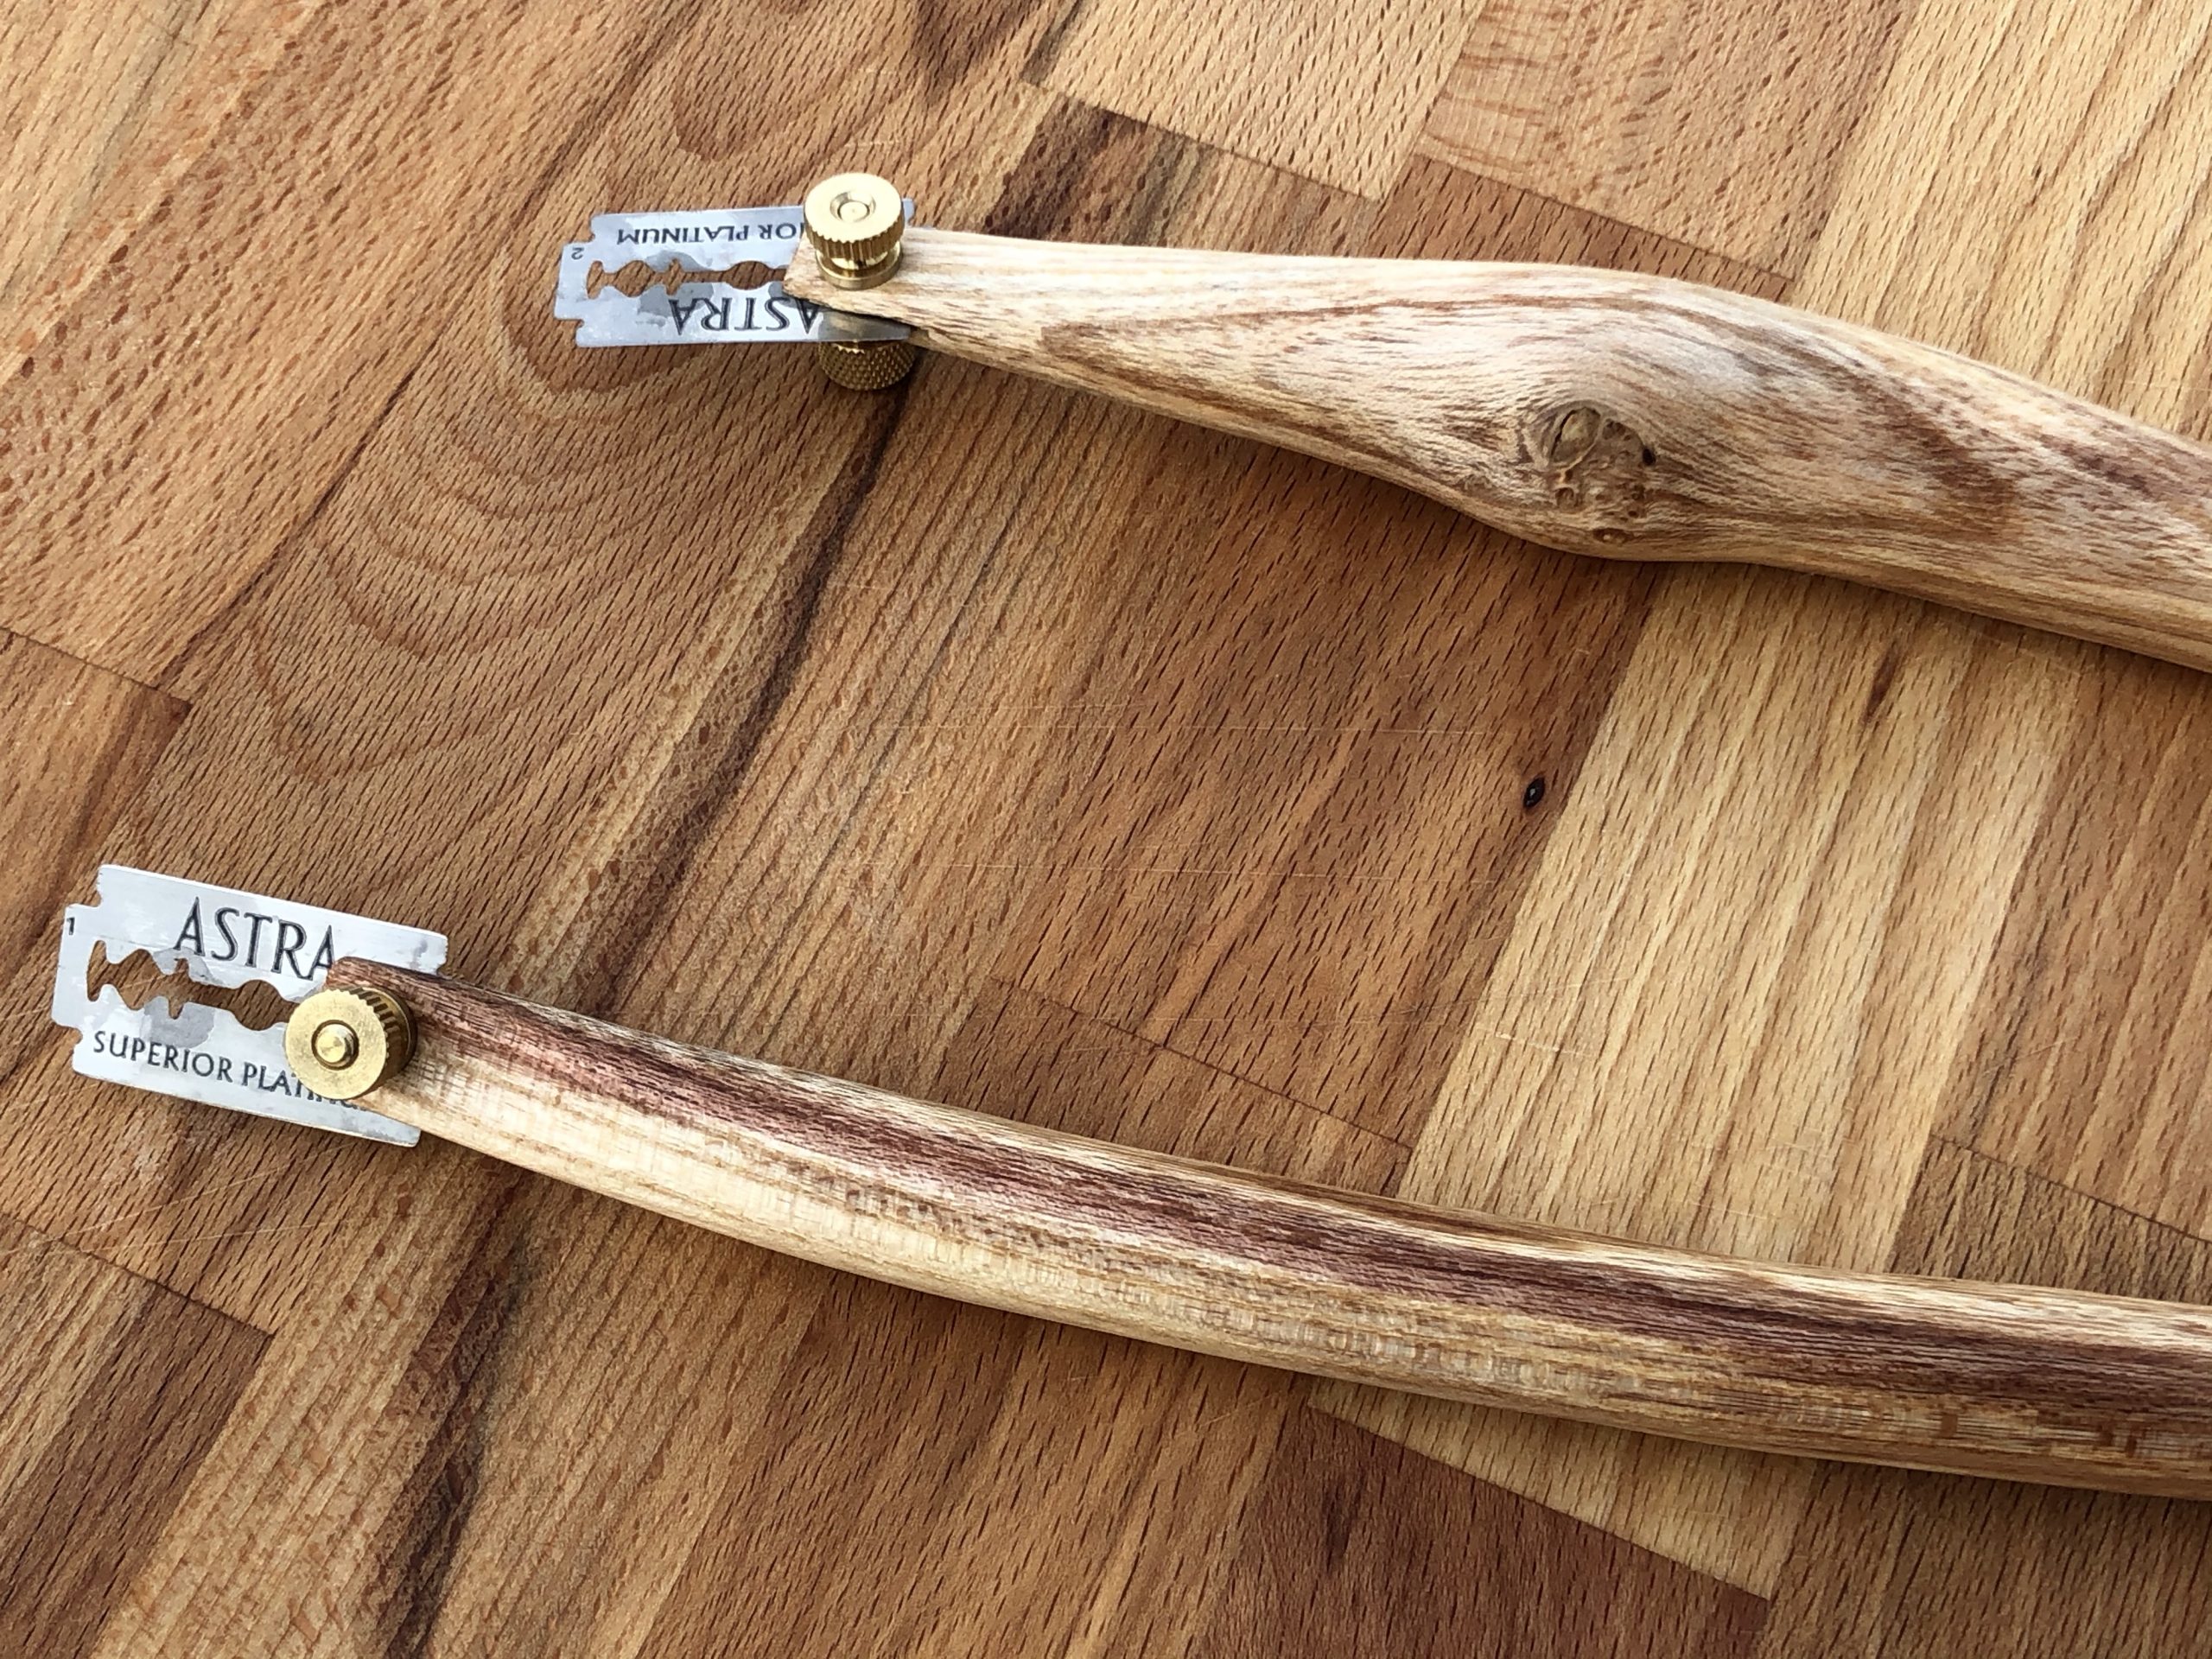
    Like a lot of folks, I’ve been baking sourdough bread this year, and I wanted a bread lame to score the top.

    While making a few other projects, namely spoons, I split two small pieces of cherry with a natural curve that I thought would be perfect for a bread lame, so I got to work shaping them and looking for hardware.

    I did the rough shaping on the shavehorse with a drawknife, then did the final shaping with a Foredom flex shaft carving tool, sanded up to 400 grit, and coated them with mineral oil and beeswax.

    The razor blade is held in place by 8-32 x 1/2 in knurled brass knobs that pinch the blade in a small groove cut down into the wood.

    I kept one and gave the other as a gift.

  • Turning Candlesticks on the Lathe


    ,

    Back in September I made a serious effort to learn how to turn wood on the lathe. I turned a few tenons on the stool legs earlier this year, but that is it. I was on the hunt for a good beginner project and Amanda asked for some candlesticks, so I got to work.

    As far as beginner/learning projects go, simple candlesticks are a great option. They take more planning than just making something round, but can be as simple or as fancy as you’d like. I didn’t get very fancy. I kept these to simple curves and let the wood grain shine.

    I made three sets:

    • 5 pine
    • 2 cherry, one with a live edge
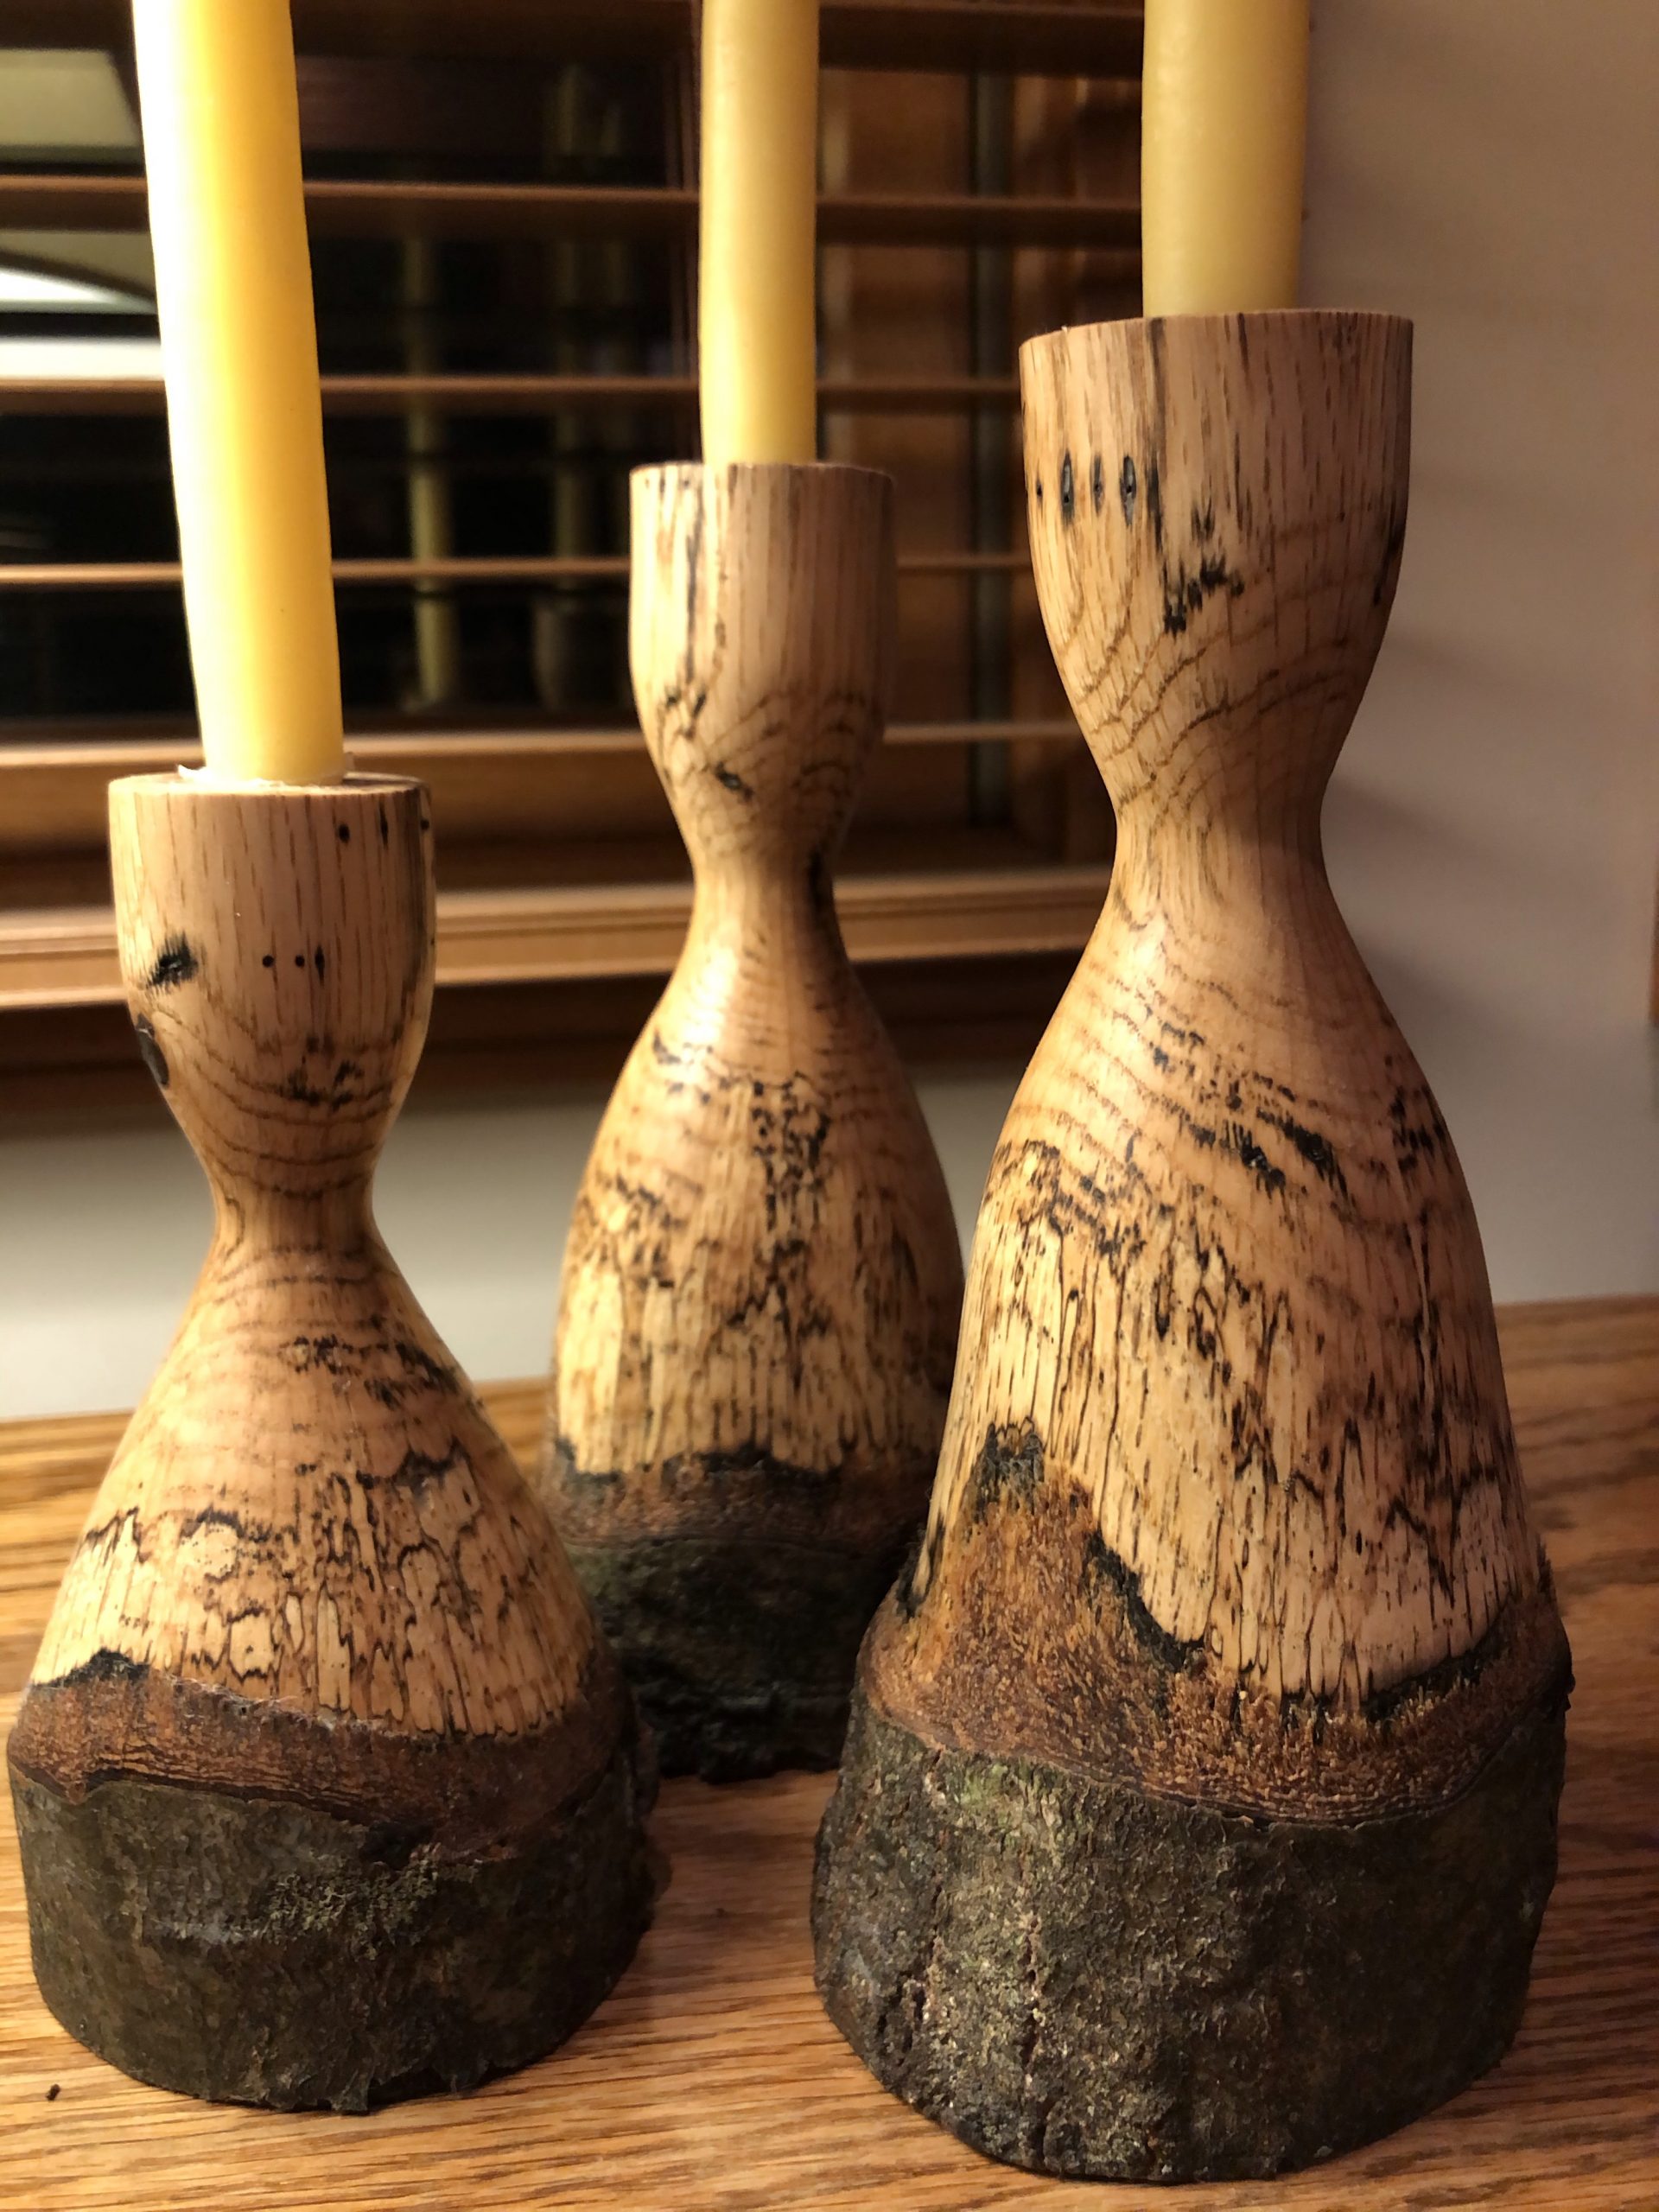
    • 3 oak, all with a live edge

    The Pine

    I made the five pine candlesticks from a Douglas fir 4×4 post left over from making our garden boxes this spring. They were inspired by a set that Amanda saw at West Elm.

    I turned two individually, then planned ahead and turned three at once:

    I finished them with mineral oil and beeswax. We used them at Thanksgiving and now have them on our mantle:

    The Cherry

    I turned the cherry candlesticks from some beautiful black cherry wood that my friends Erin and Tyler brought to me from a tree that they had cut down on their property. I sent these candlesticks as a thank you.

    Since I turned these from a small log that the bark was still on, the grain pattern is completely different than the pine. It also had some cool bug damage inside that I kept. I chose to give one of them a live edge by leaving the bark on. I also finished these with mineral oil and beeswax.

    They look great on Erin and Tyler’s mantle.

    The Oak

    The oak candlesticks came from a limb off of a huge oak that fell in the woods at the end of our street. The trunk of the tree was pretty rotten, but the limbs I cut had some beautiful spalting. I loved the live edge I put on one of the cherry candlesticks, so I decided to make all three of these live edge.

    I made a leveling jig to level the tops of these.

    Finished!

    What I learned about turning through this project:

    • Sharp chisels make a world of difference. I bought a jig to make sharpening on the Shopsmith faster and easier.
    • Turning green wood (the oak) is very fast in the initial stages, but then it needs to dry for a few days before final shaping and sanding.
    • How to center irregularly shaped pieces of wood.
    • How to turn multiple items at once with a little planning.
    • Never turn something without planning it out first. “Figuring it out as you go” doesn’t work very well on a lathe.
    • Sanding something to 220 grit vs 800 grit makes a big difference. 800 almost makes the piece shine.
    • Sanding is easier with long strips of sandpaper that you loop under the work piece vs pushing a piece of sandpaper against the piece with your hand.
    • I used a step drill to make the holes in the top for the candles because it ends up tapered to better hold the candles.
  • Turning Christmas Ornaments


    ,

    We decided to change up our Christmas decor this year and go with an all natural aesthetic. Dried orange and cranberry garland, a basket instead of the tree stand, and wooden ornaments.

    I’ve been learning how to do lathe work this year, so after Thanksgiving I started turning ornaments. I’m still pretty new to turning and had to throw about as many as I saved into the burn pile. Frustrating, but that is the way it goes when learning a new skill.

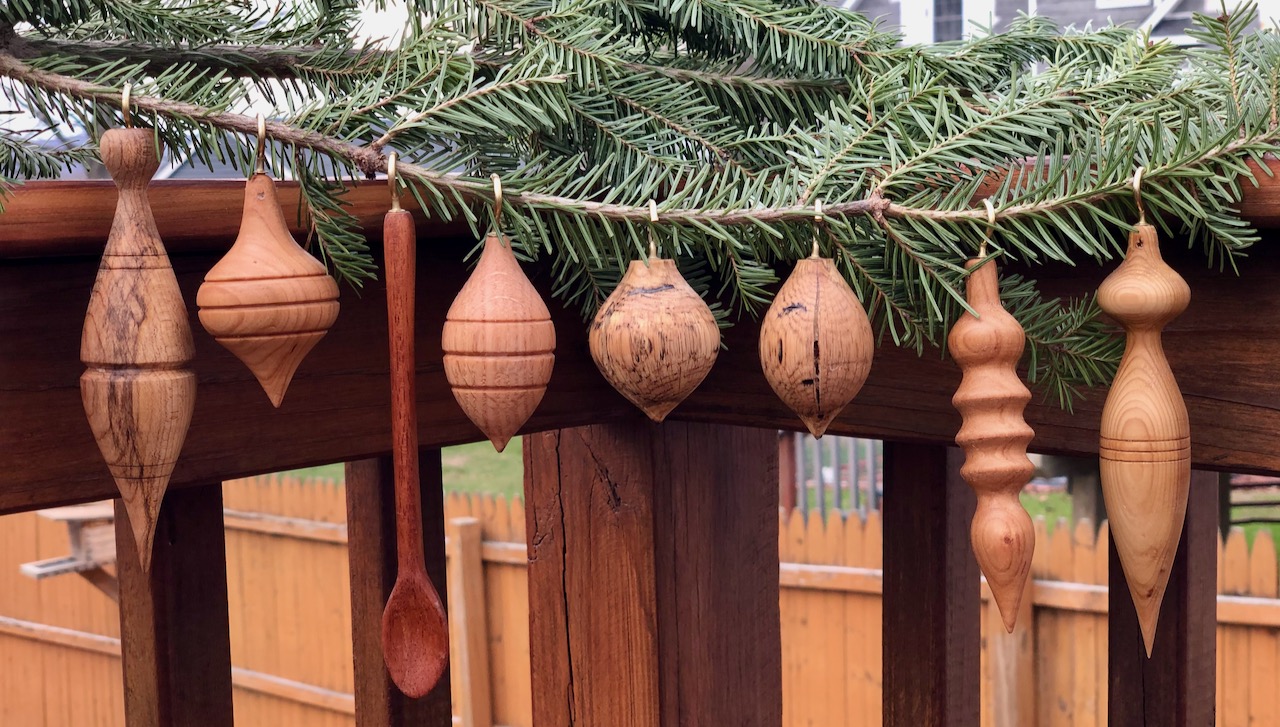
    I first roughed them out and shaped them with a spindle gouge, then sanded them down with 80, 150, and 220 grit successively. On some of them I paused here and cut decorative grooves with a skew, then finished sanding with 400 and 800 grit. Then I cut them off the lathe, sanded the top, drilled a hole for the hook, and screwed in the hook.

    I coated the ornaments with a mixture of beeswax and mineral oil that I heated up and buffed on with a rag.

    Learnings

    • Green wood, especially branches of a similar diameter as the finished ornament (and thus have the heartwood in the middle) will crack every time when they dry. This is why the spalted oak doesn’t have decorative grooves.
    • Turning without a center at both ends (like with a chuck that grips the wood from the outside) is a lot more delicate than turning with two centers. The wood can flex and cause a catch!
    • Using skews is tricky. I still catch more often than I’d like.
    • If you can turn the entire piece without removing it from the chuck, you should. It is very difficult to get it positioned exactly as it was, so you’ll have to reshape the piece after you put it back in the chuck.
    • Your chisels need to be super sharp when dealing with soft wood like cedar or pine, or else it will tear out. I have no finished pine ornaments and only one finished cedar ornament, but I tried five others.

    In progress shots with a piece of oak:

    Here are two in-progess shots of the spalted oak ones that eventually split. I turned them both out of a single piece:

    Finished ornaments. The small spoon is a hand-carved bonus!

    The whole set:

    Here is how they look on the tree:

    Merry Christmas!

  • Two Staked Wooden Stools from The Anarchist’s Design Book


    ,

    I love staked wooden chairs and I want to learn how to make them, so I picked up The Anarchist’s Design Book from Lost Art Press. All of their books are top-notch and I highly recommend them. Christopher Schwarz’s introduction on what he means by “anarchist” resonates deeply with me.

    I figured I’d start small and work my way up: Make a low stool, then a high stool, then try one of the simpler armless chairs before going all-in on a staked arm chair.

    Low Stool

    First, I had to make some concessions: I used Douglas Fir instead of hardwood for the seat because it was all I had on-hand and we were in the depths of the pandemic. I had a few 2x12s sitting in the rafters of my shed. I wanted to avoid a glue up, so I made the seat a bit smaller than the plans.

    Second, after I had the thing made and was flipping through the book again, a tiny slip of paper fell out. It read “Errata.” Sure enough, it was about the low stool. The angles of the legs were off, so mine looks pretty different from the plans. Oh, well. I learned a lot in the process and it made the second one easier.

    Glue up!
    Finished stool.

    High Stool

    I learned a lot while making the low stool, especially about shaping the legs and cutting the tenons on them, so I was a more confident on this one and it went faster.

    Checking to see if the holes I drilled for the spreaders line up. Looks good to me!

    The perils of pine: Sometimes breaks happen. Always make extra legs.

    Bummer.
    Dry fit pre-glue up.
    Post glue-up, pre-trimming, pre-finishing.

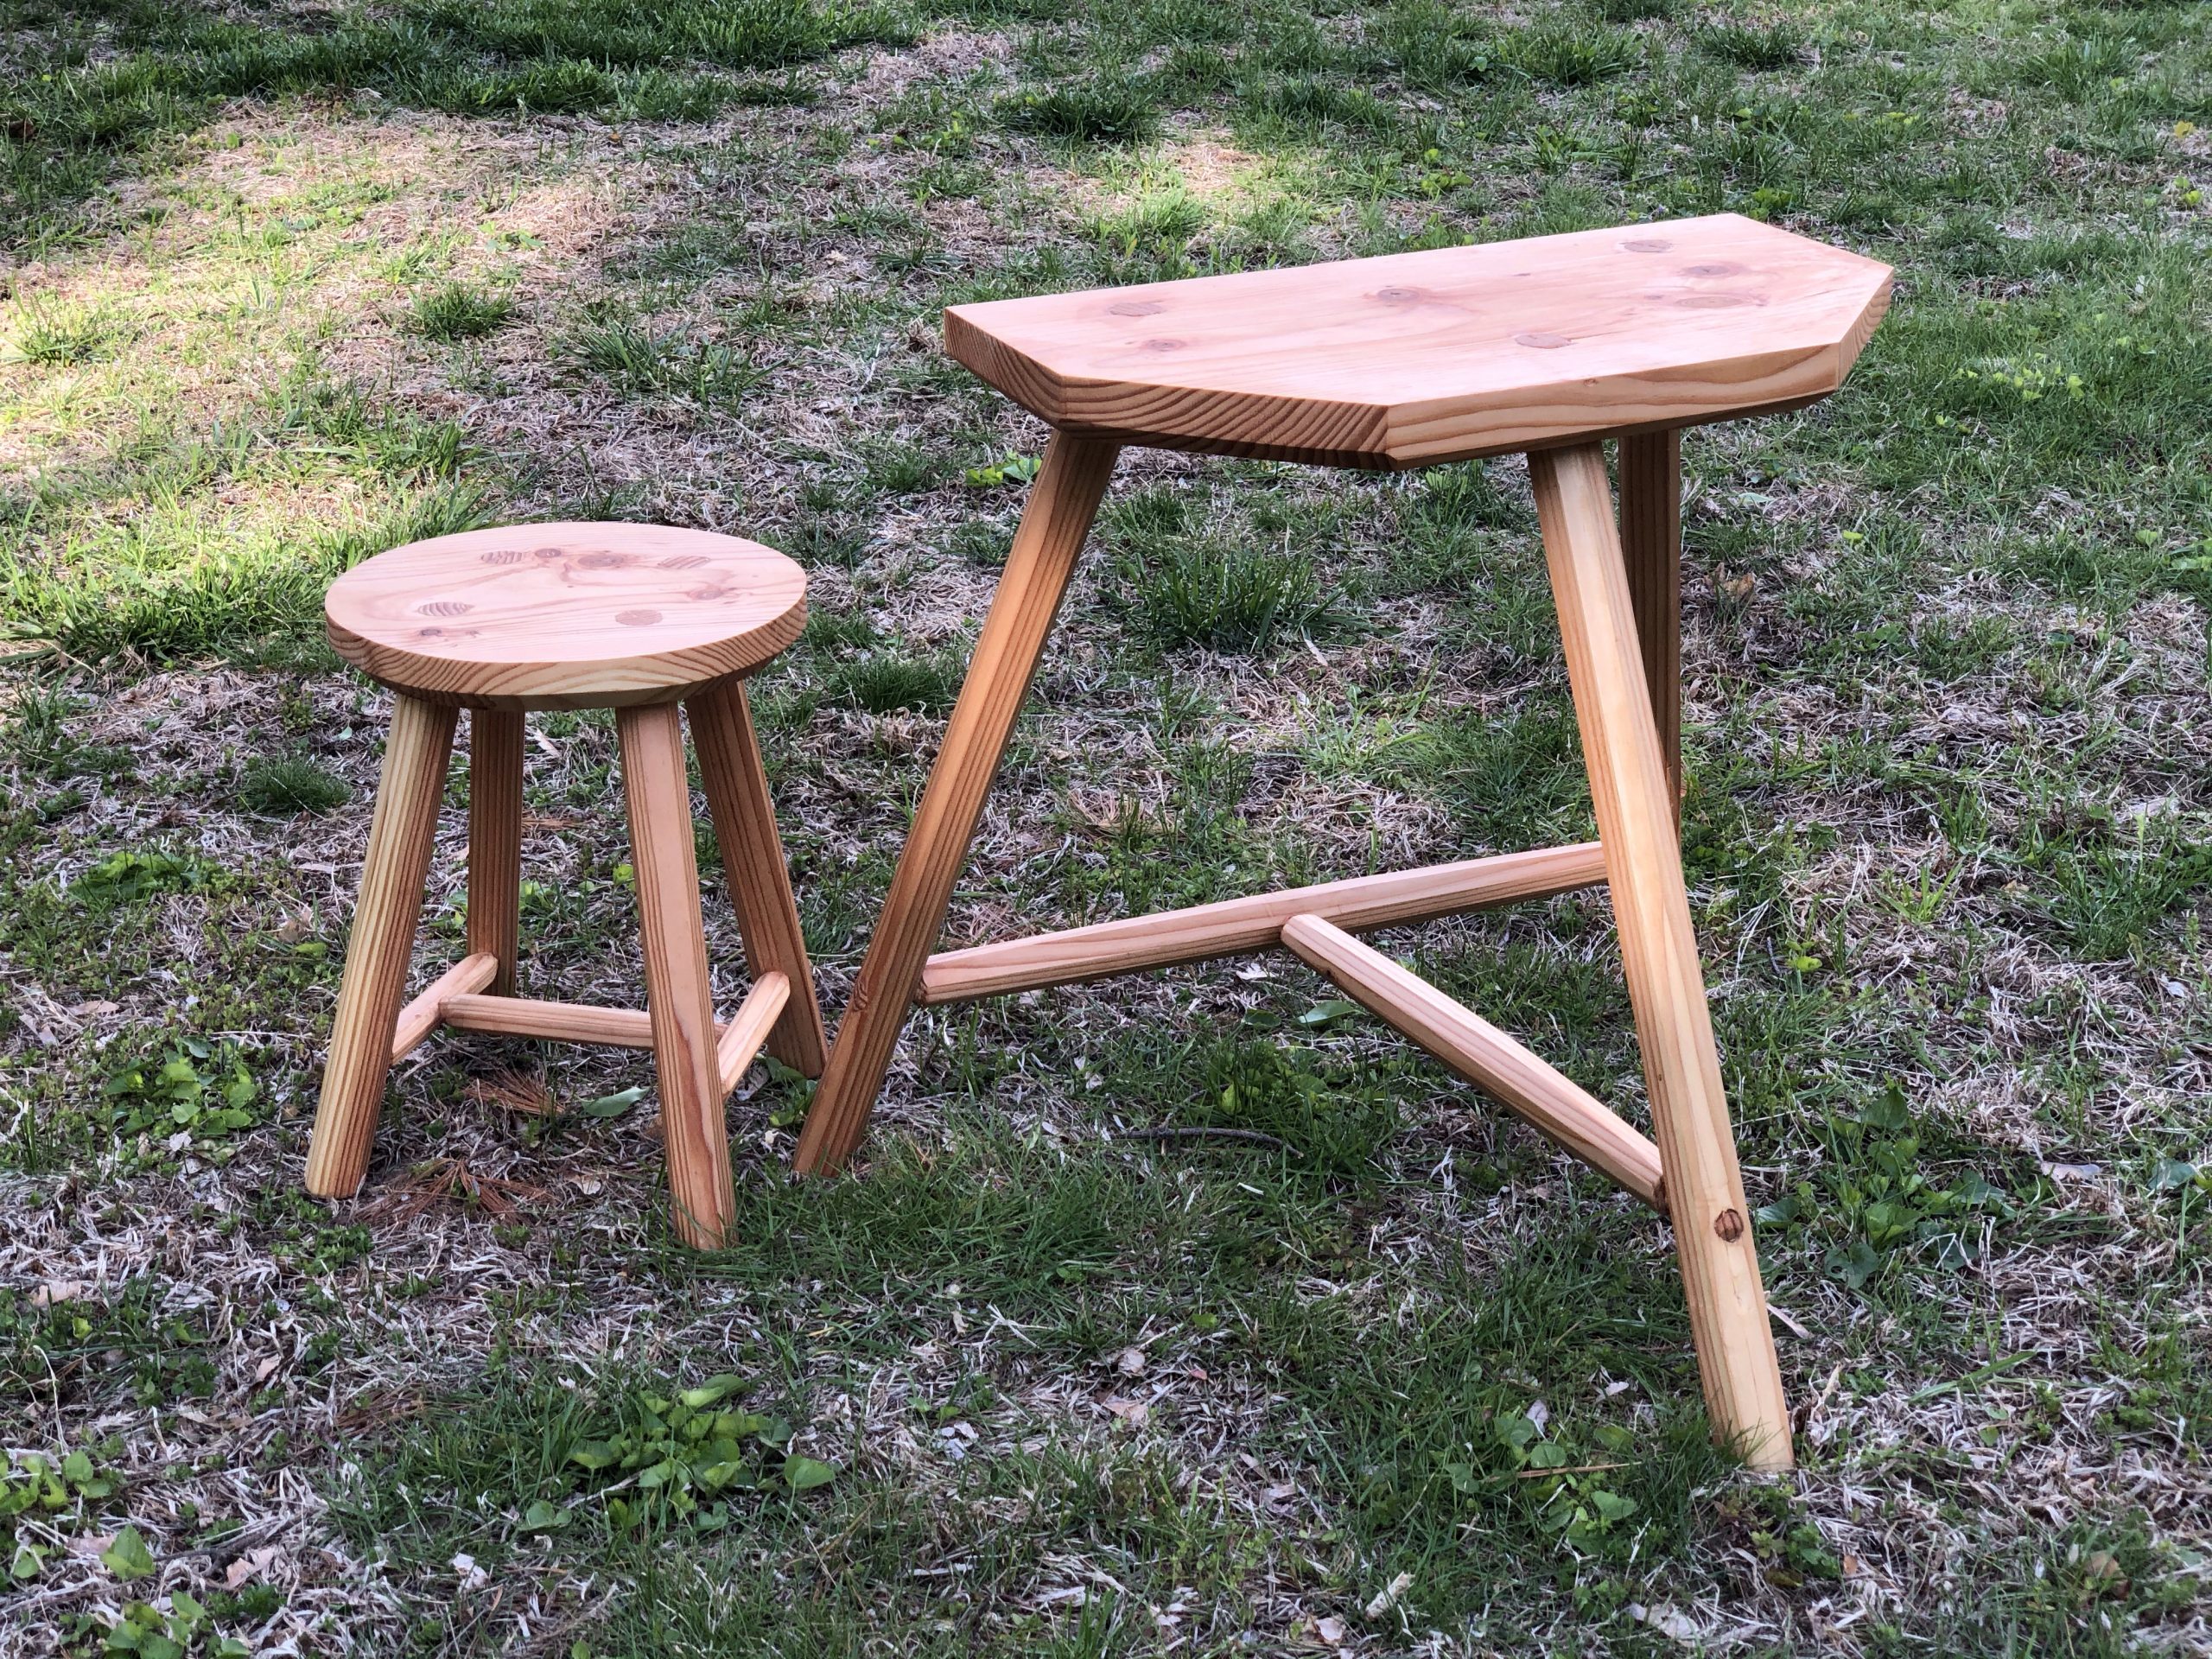
    Here are the finished stools!

    I finished both with boiled linseed oil and beeswax.

    The low stool lives in my office as a small side table next to my reading chair, where it is often adorned with books and coffee. The high stool lives in my shop and I use it every time I’m in there, whether while carving, working at the bench, or just taking a break. We often pull it out and use it as a s’mores station by the campfire, too.

    What’s next?

    I’m planning on making another low stool with a hardwood seat. I have both Cherry and Oak right now and can do a glue-up.

    After that, I want to make a staked back chair without arms. Working my way up!

  • Wooden Joiner’s Mallets


    ,

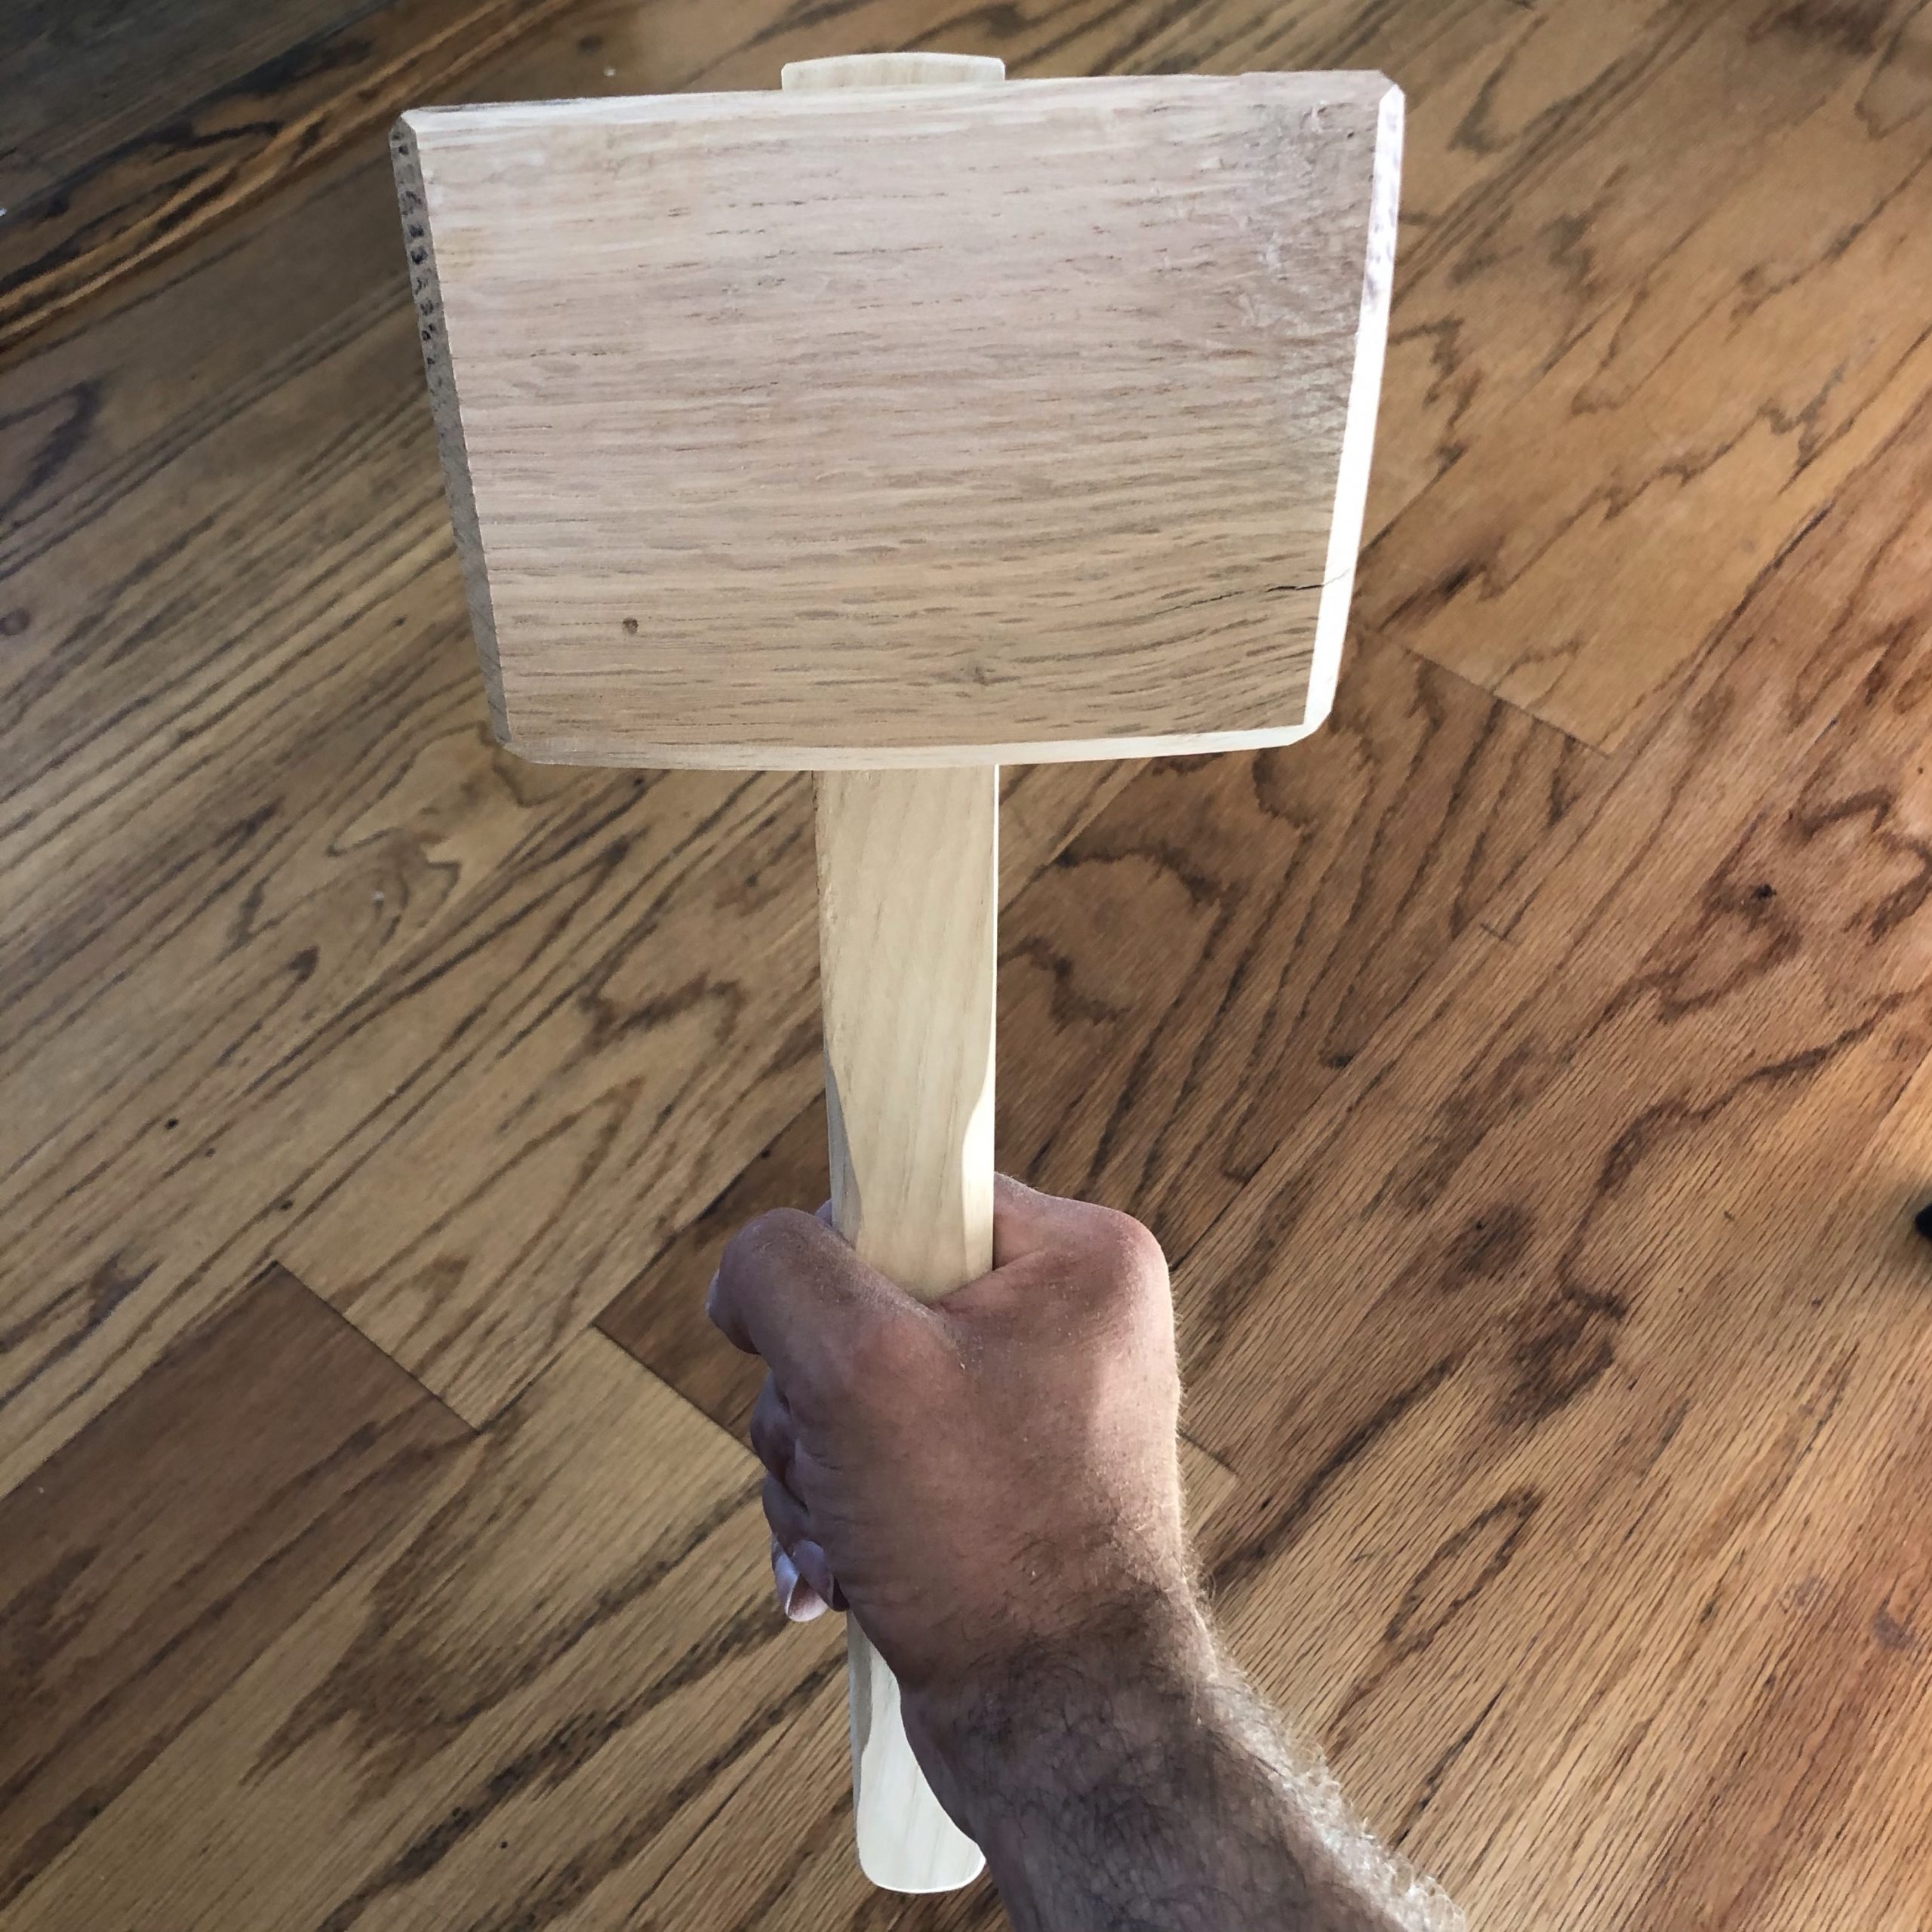
    I made three wooden joiners mallets this year, following the Paul Sellers videos (1, 2, 3).

    The first has a head of laminated Beech and an Ash handle. Mostly because that is what I had around!

    There are no nails or screws in these, just wooden joinery. The handle and mortise in the head are both tapered to ensure a snug fit.

    The process is pretty simple: Cut the head and handle to size, find the centers, plan out your mortise, drill out the mortise, chisel the mortise the rest of the way, shape the head, shape the handle, then coat!

    Drilling the mortise with a brace and auger bit

    I finished it with a mixture of boiled linseed oil and beeswax.

    It is rougher than the next two I made, which is to be expected for my first time cutting deep mortises like this with a chisel. I also didn’t pay as much attention to the corners as I did with the later ones. I don’t love the way this one looks, so I use it as my main mallet for chisel work and don’t mind banging it up.

    After learning a few lessons on the first one, I made two more with Oak heads. One was a Father’s Day gift for my Dad with an Ash handle and the other has an Oak handle as well and is kept on the house bar for crushing ice. I didn’t take any progress pictures unfortunately. I did get to use my first mallet to make these, though!

    I opted to let the heads soak up mineral oil to give them a little extra heft and to help keep them from splitting. After they soaked up oil for a few days, I let the surface dry out a little bit and then coated them with Mighty Bull’s Wax Archived Linkfrom Corey’s Bio Blends.

    The ice crusher has a shorter handle and a smaller head. It works great with a Lewis bag!

  • Malloreddus Boards


    ,

    Amanda was watching a video about different types of handmade pasta (we had a lot of time on our hands during the pandemic and finally got some flour!) and asked if I might be able to make a malloreddus board. I decided to give it a try!

    I started with sawing and planing down a piece of Beech I had for the board:

    I tried a bunch different methods of making the grooves:

    1. Carving by hand didn’t work. I could never get lines that straight.
    2. Using a Dremel didn’t work. Again, I couldn’t get lines that straight.
    3. Using a Japanese pull-saw was okay, but still sloppy looking.
    4. I don’t have a router, but a router table might have worked.
    5. Tablesaw!

    I ended up using a tablesaw tilted at a 45 degree angle and a bunch of homemade spacers, slightly wider and longer than popsicle sticks that I cut out of an old piece of fencing that I planed down. I started with all of the spacers, then I’d cut a groove, remove a spacer, and repeat.

    It worked! Took me a little while to get the blade height just right, but I’m happy with how it turned out.

    They needed a little clean up with some sanding sticks, but otherwise looked good!

    I made two of them and cut them out in a round shape with a handle.

    After some sanding, they were ready to make Malloreddus with!

  • Coffee Filter Holder


    ,

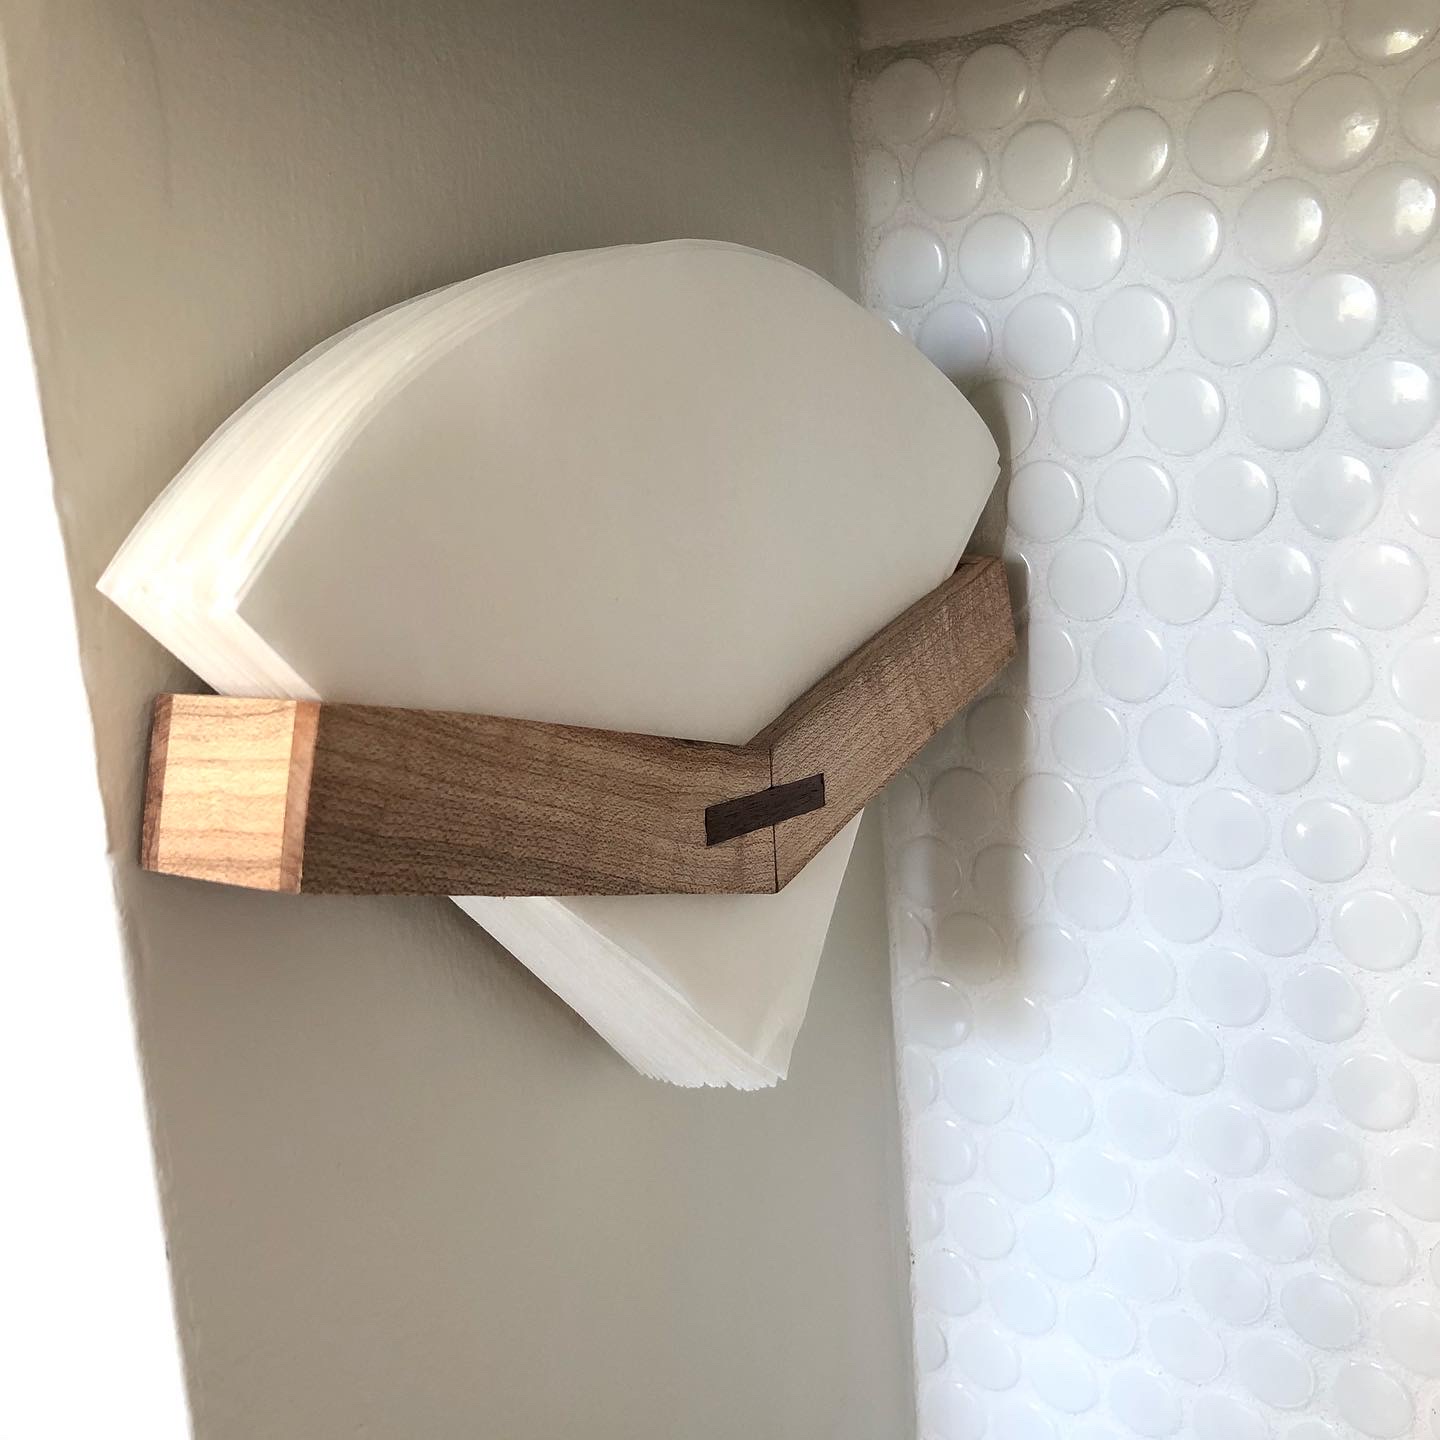
    Amanda and I wanted to hang our coffee filters in a little nook above our coffee grinder, and I happened to have a lot of free time on my hands back in April, so I decided to make one.

    This one by Yoshitaka NakayaArchived Link that inspired me:

    I didn’t really have much of a side view, but this was enough to go off of.

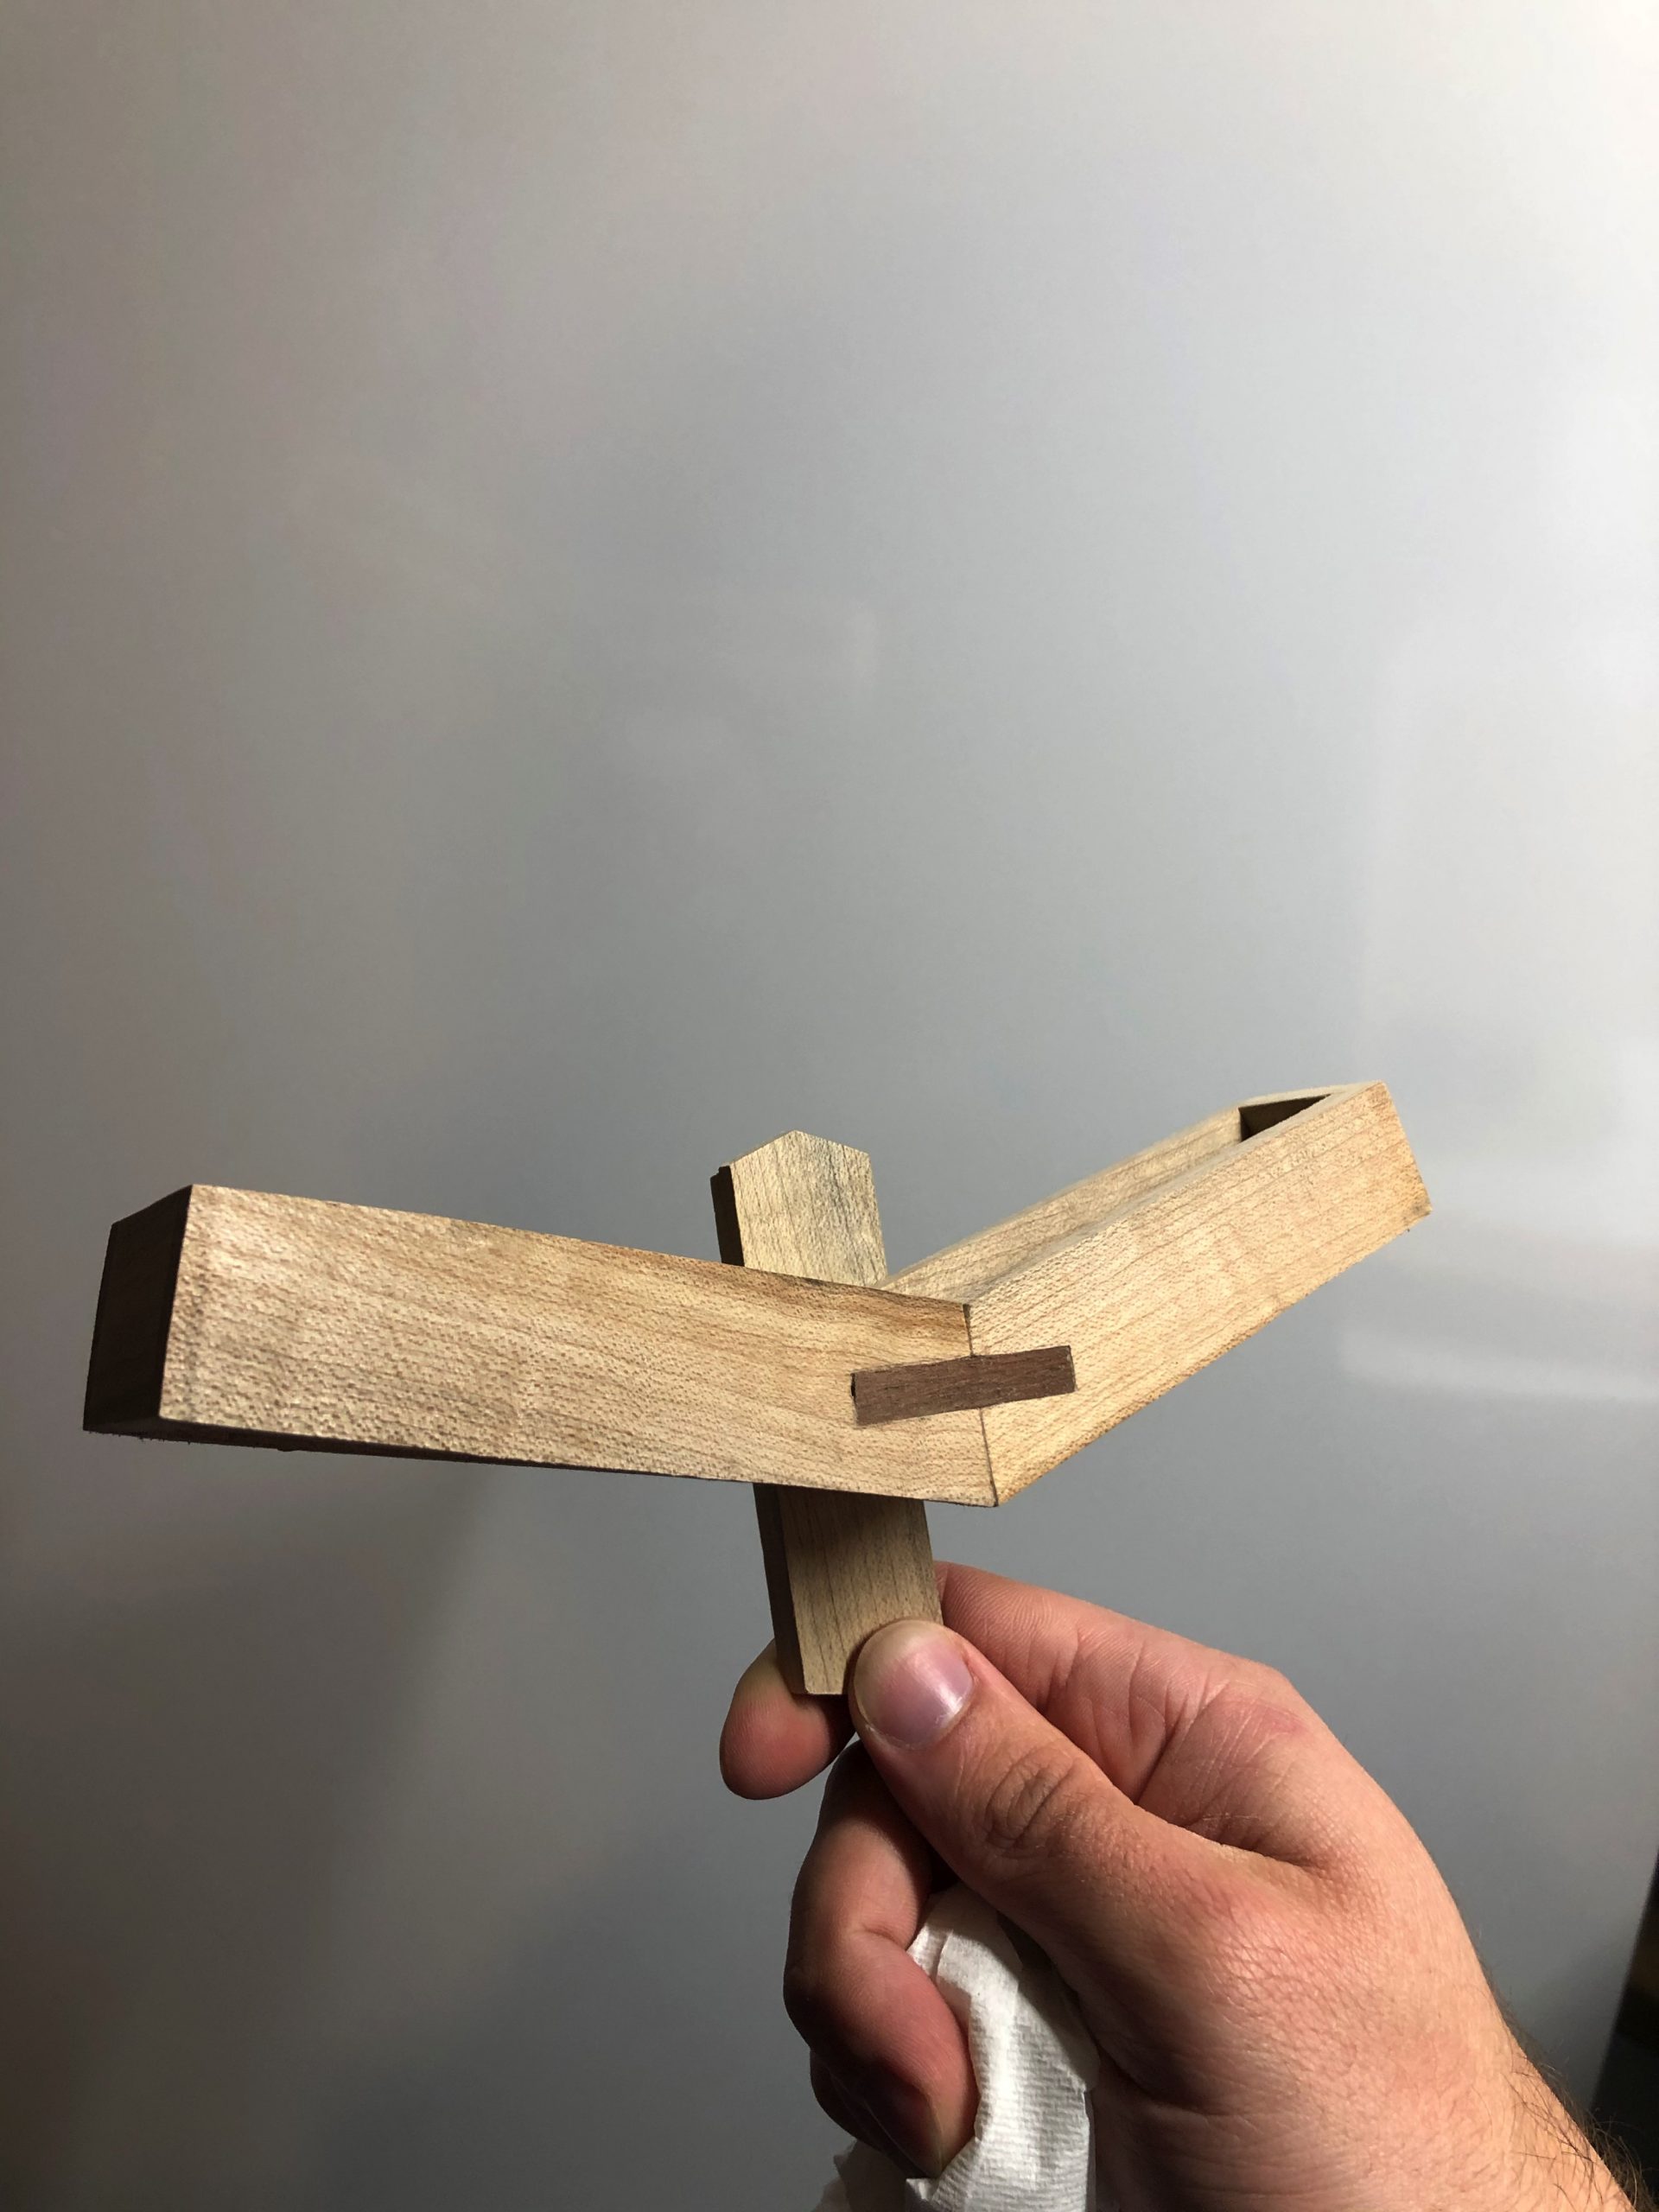
    For the wood, I decided to use a strip of maple I had. I planed it down to the thickness I wanted, then worked on figuring out the angle and overall width of the holder.

    Next I cut a walnut accent piece and transferred the size onto the wooden holder and then chiseled that out and inlayed the walnut.

    Then I chiseled notches for the end pieces.

    Last I glued everything up, let it dry, sanded, added the back piece for a hanger, and coated it with a clear satin wipe-on polyurethane.

    It holds about 20 Chemex filters and looks great on the wall!

    Here is a quick sketch with dimensions:

    If I make one again. I’d probably cut the middle piece out of a single piece of wood instead of trying to join two pieces. I unfortunately didn’t have a wide enough piece of wood to use and there was a pandemic on, so I made due.

  • Cape Falcon F1 Kayak Builds


    , ,

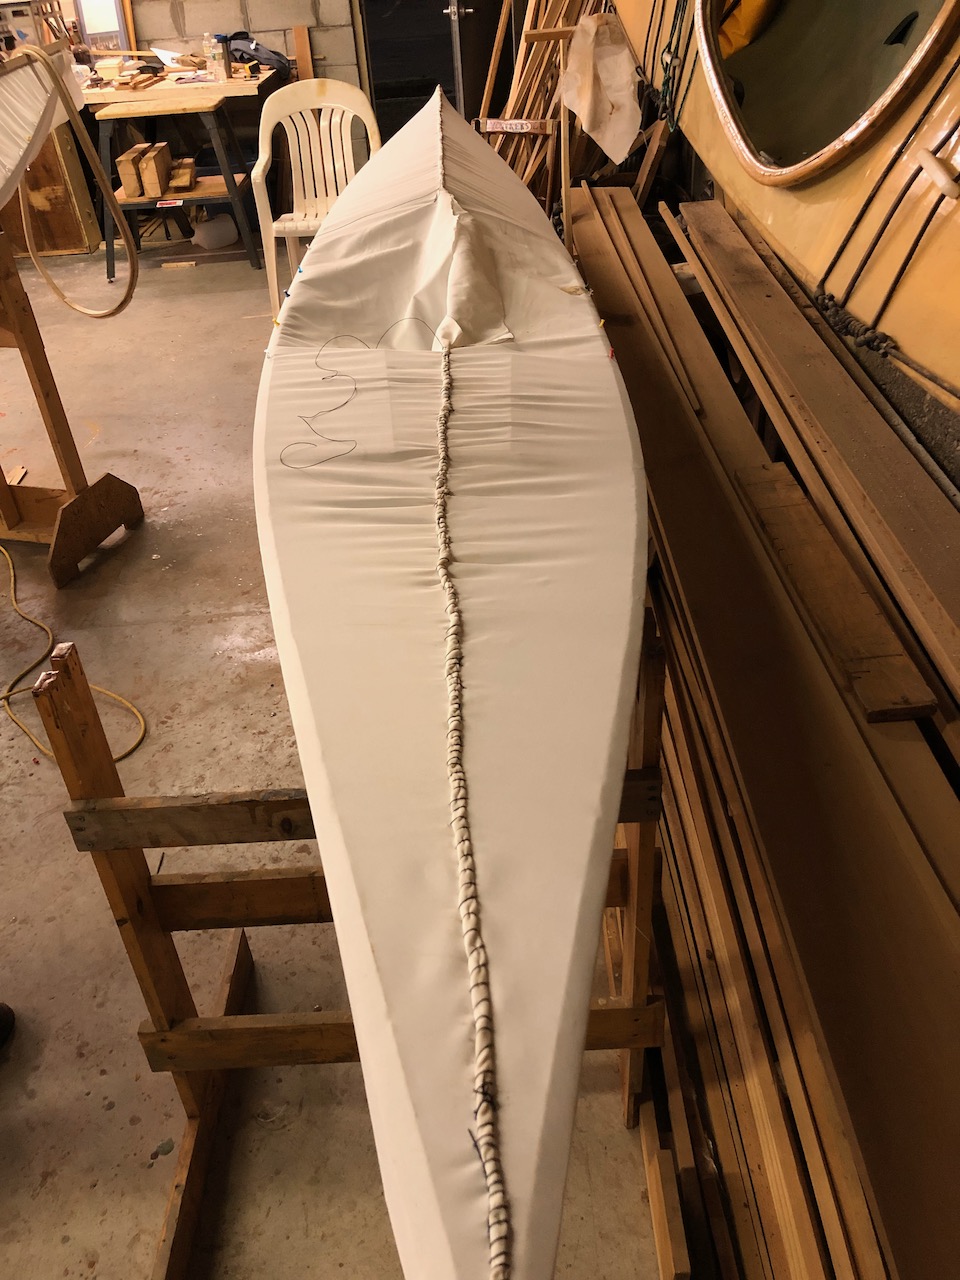
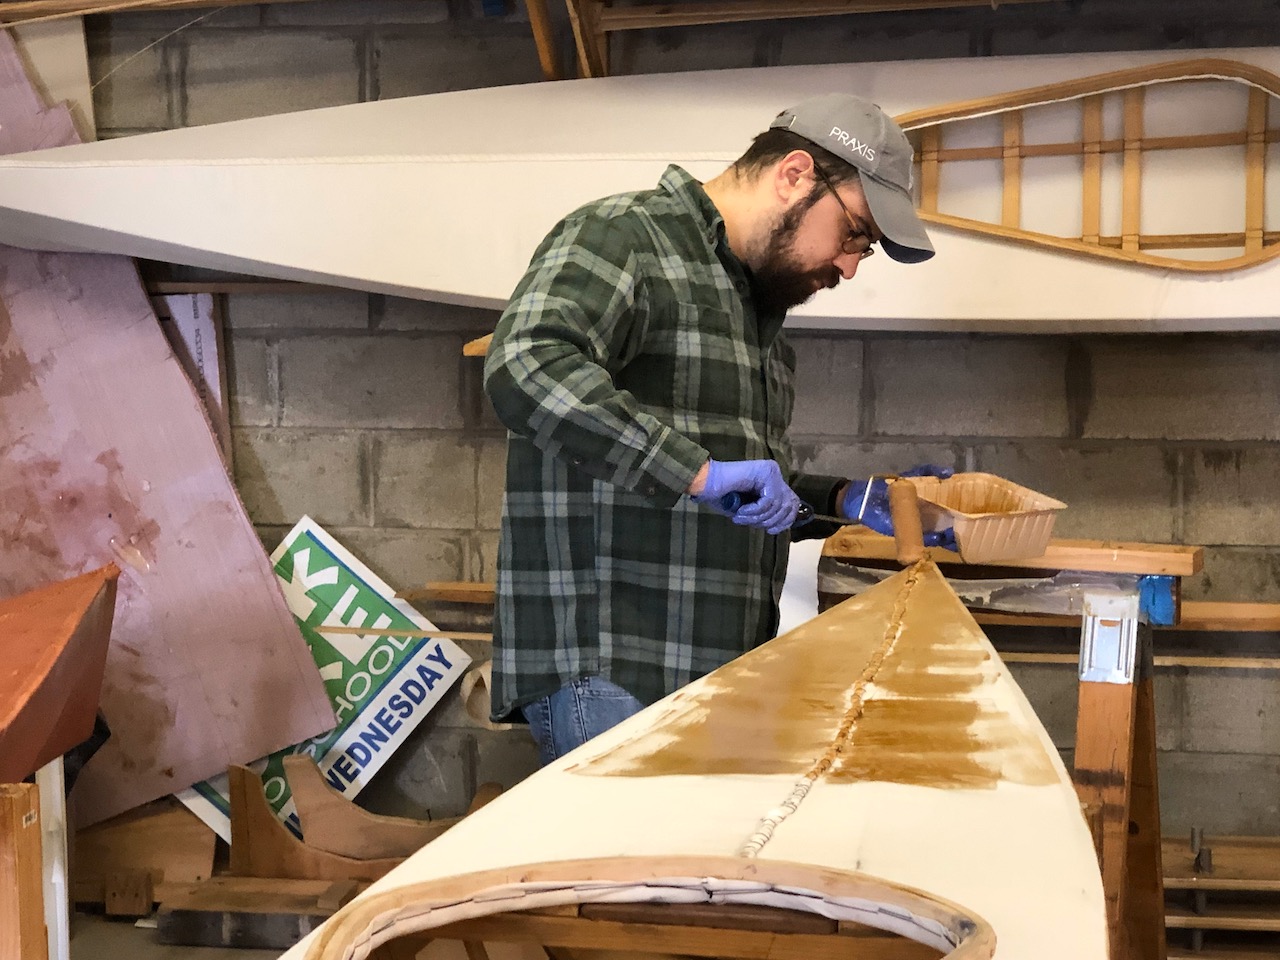
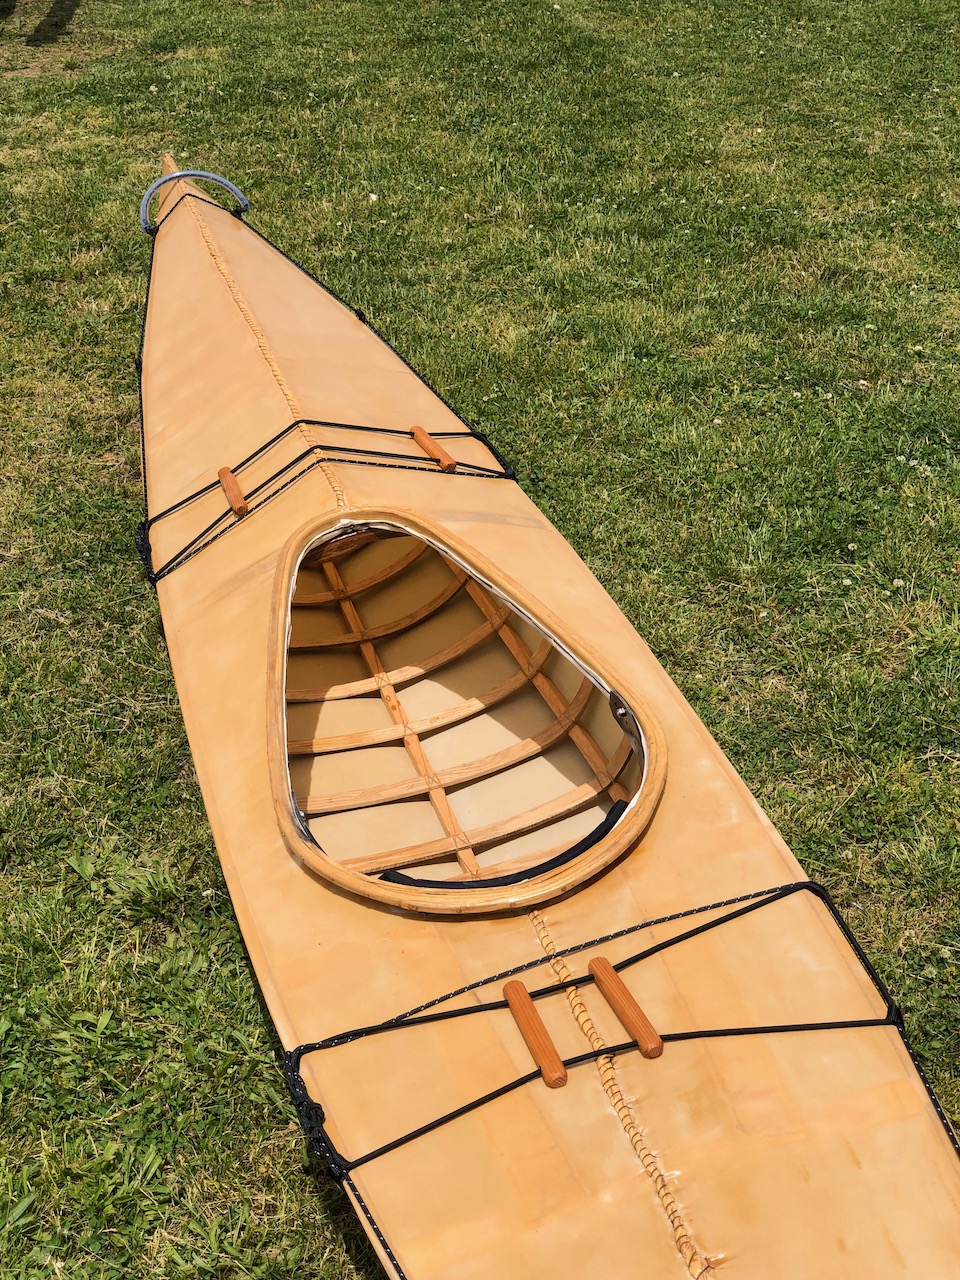
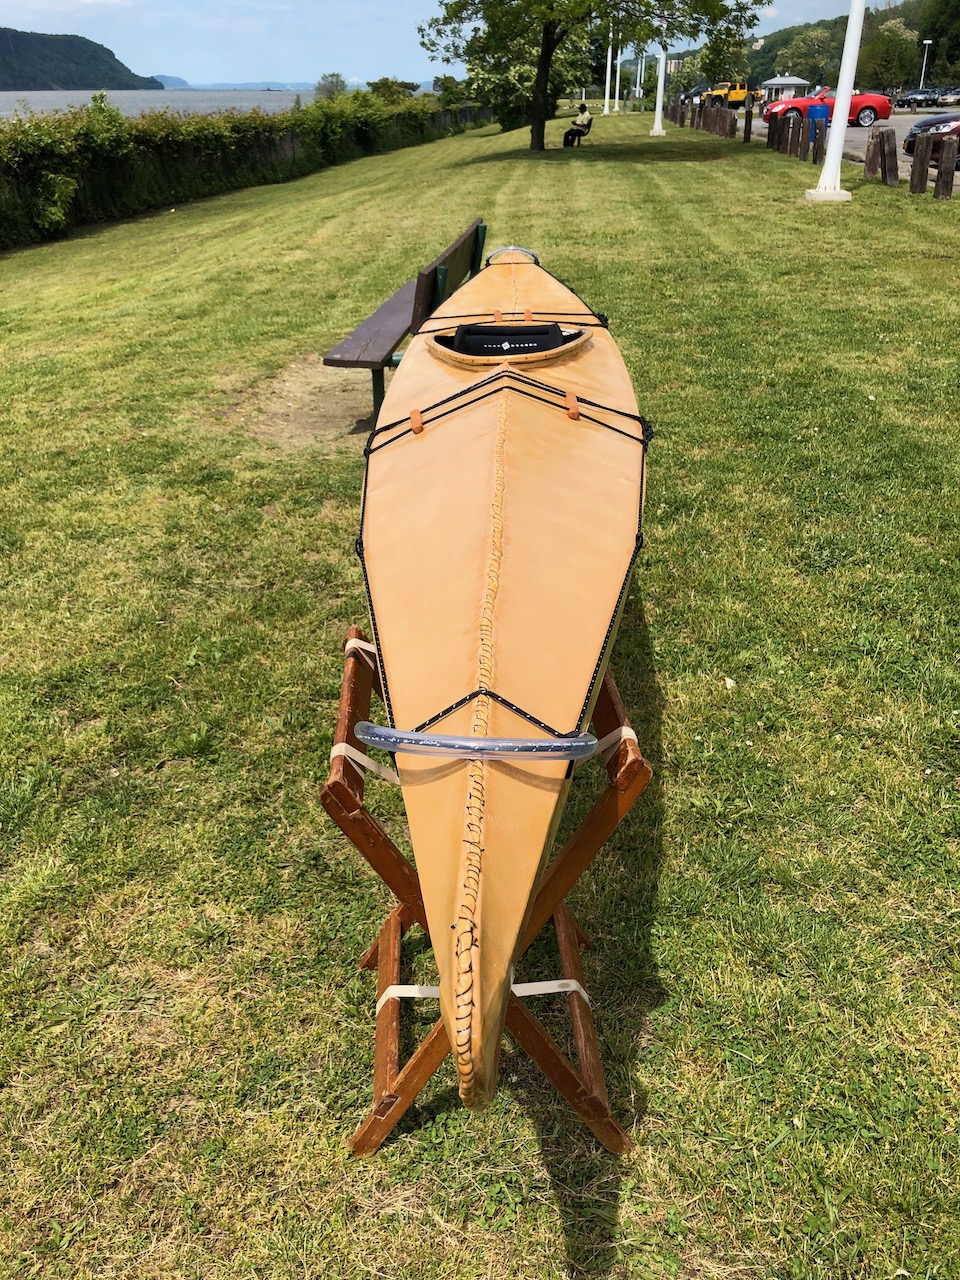
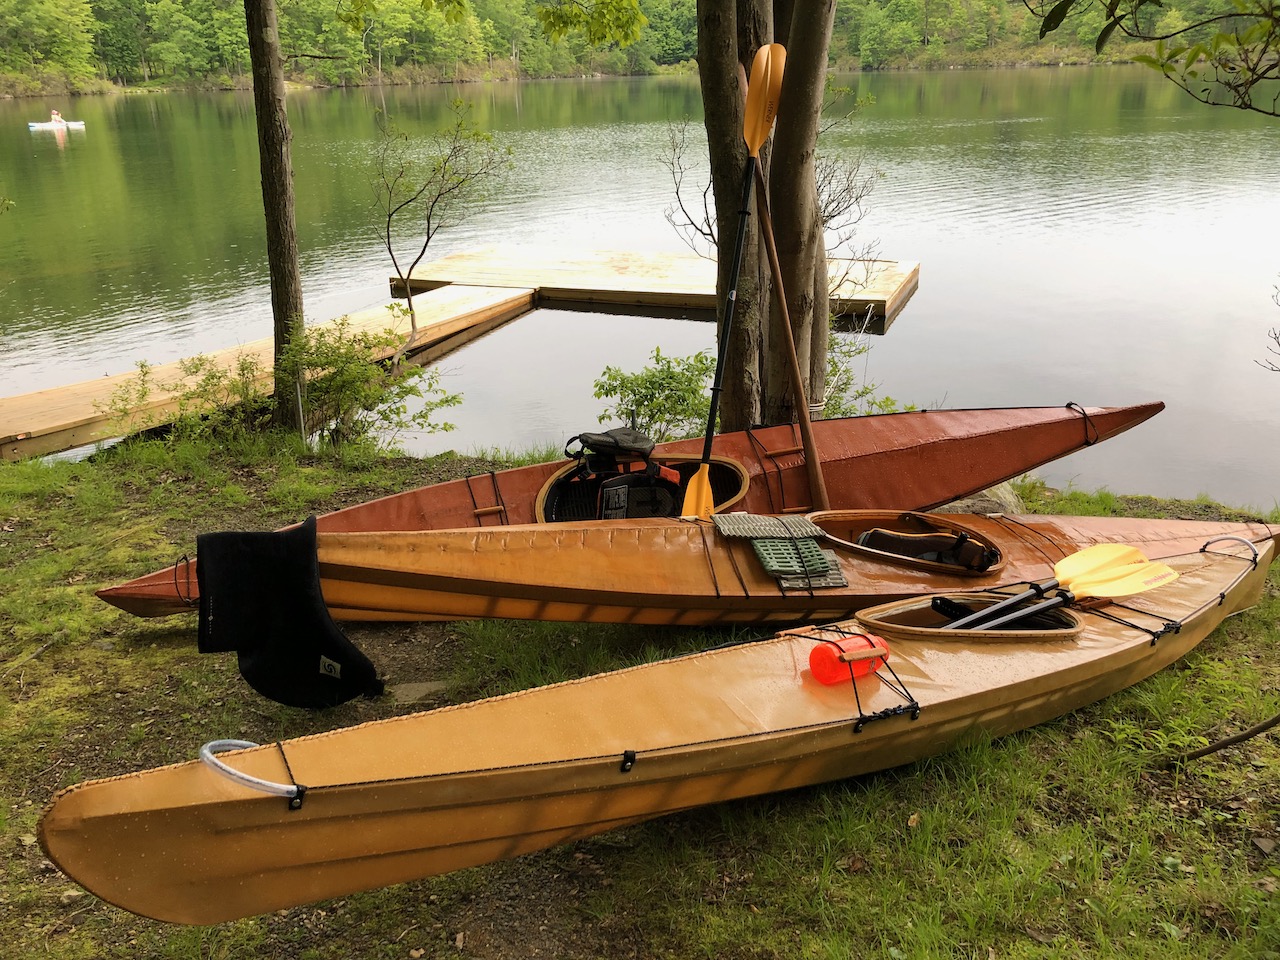
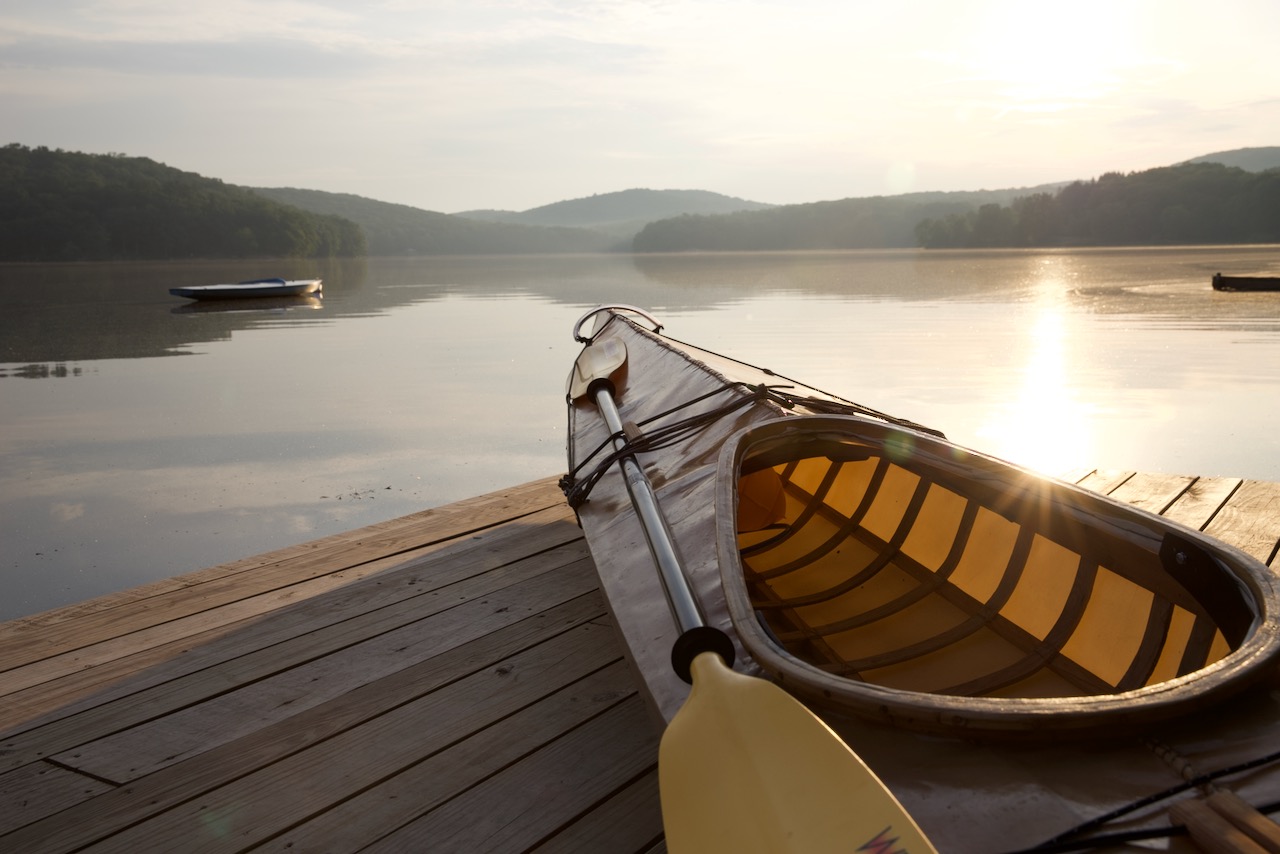
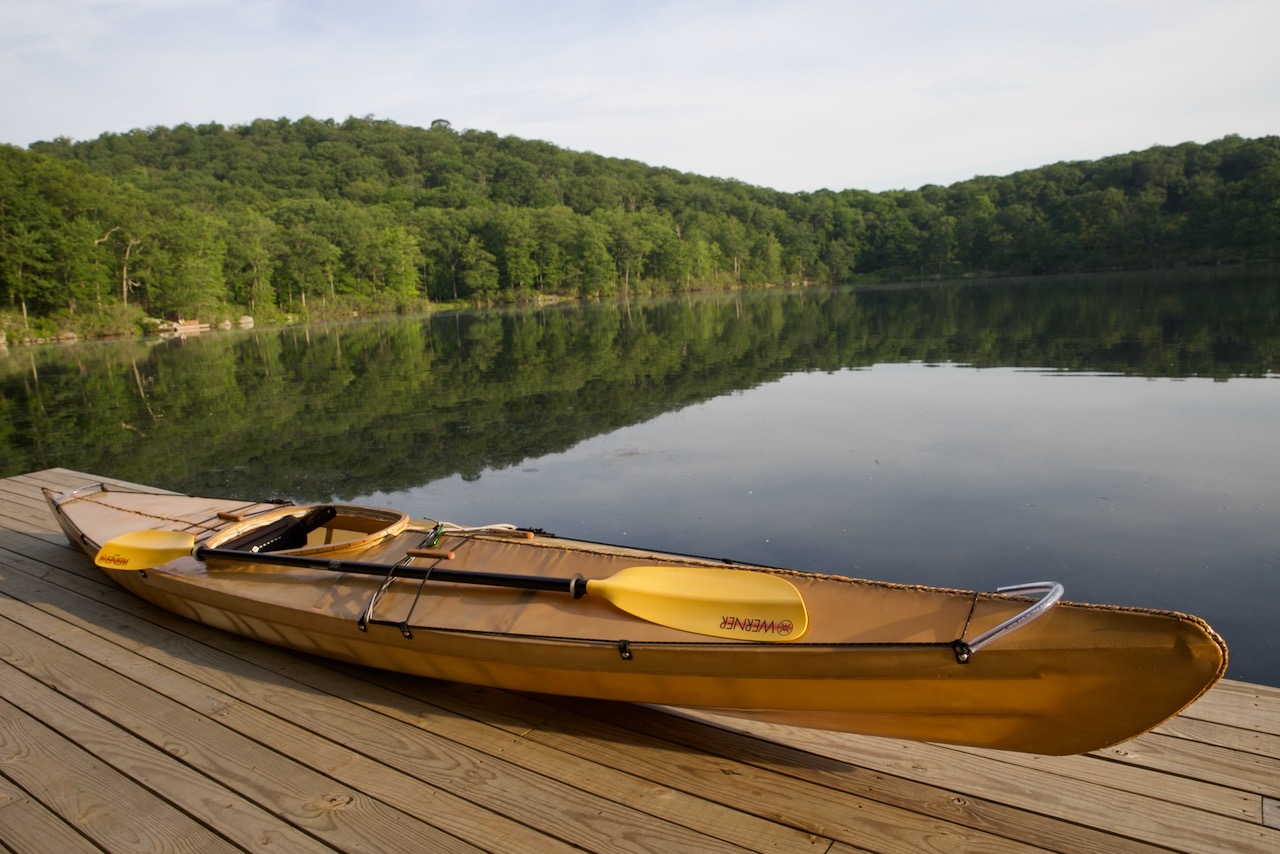
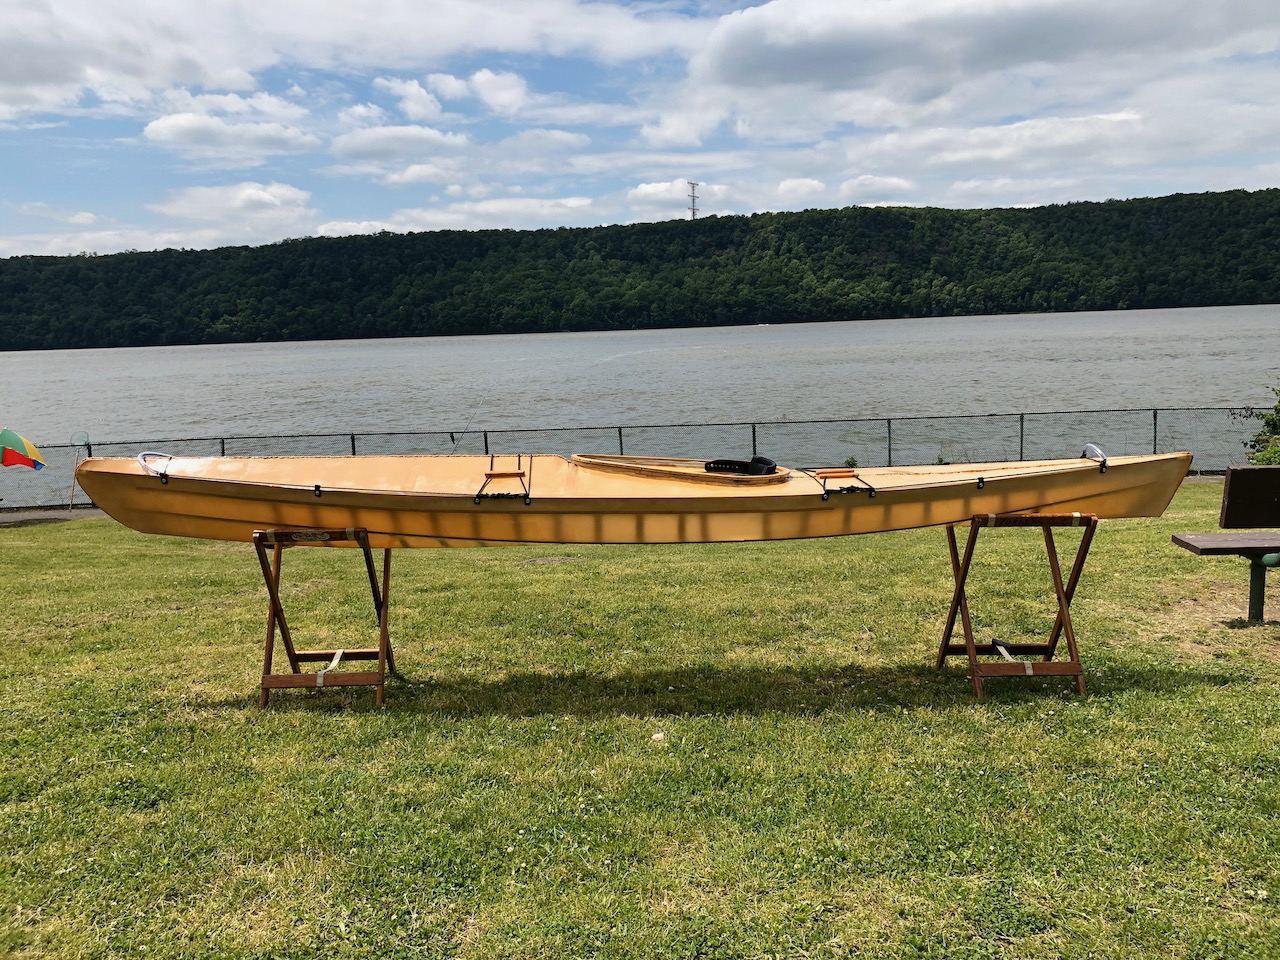
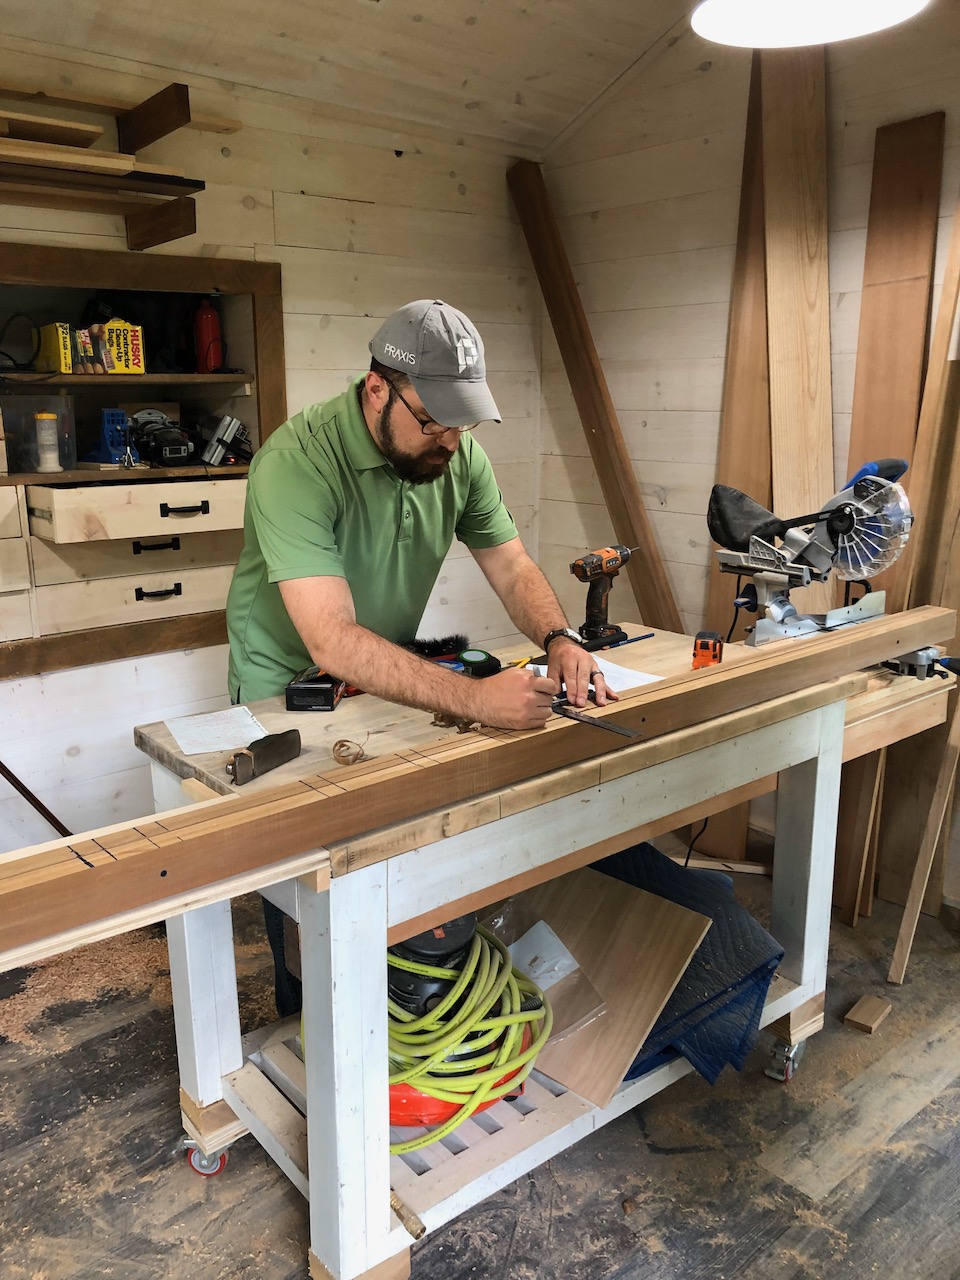
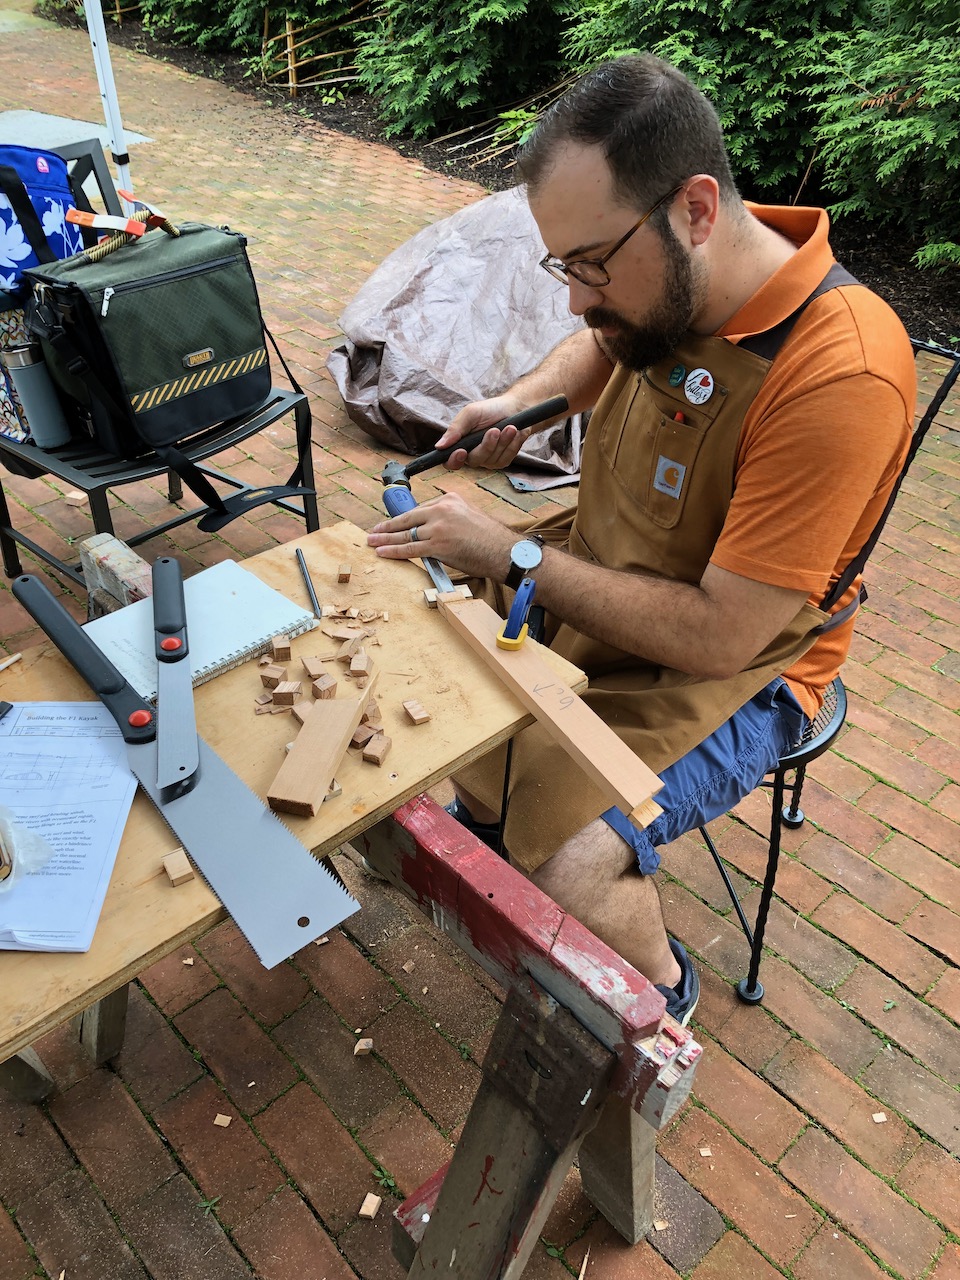
    Over the winter of 2018/2019 and summer of 2019 I built two Cape Falcon F1 skin-on-frame style kayaks. I want to be better about documing my projects here, so I’m taking a few posts to document the backlog.

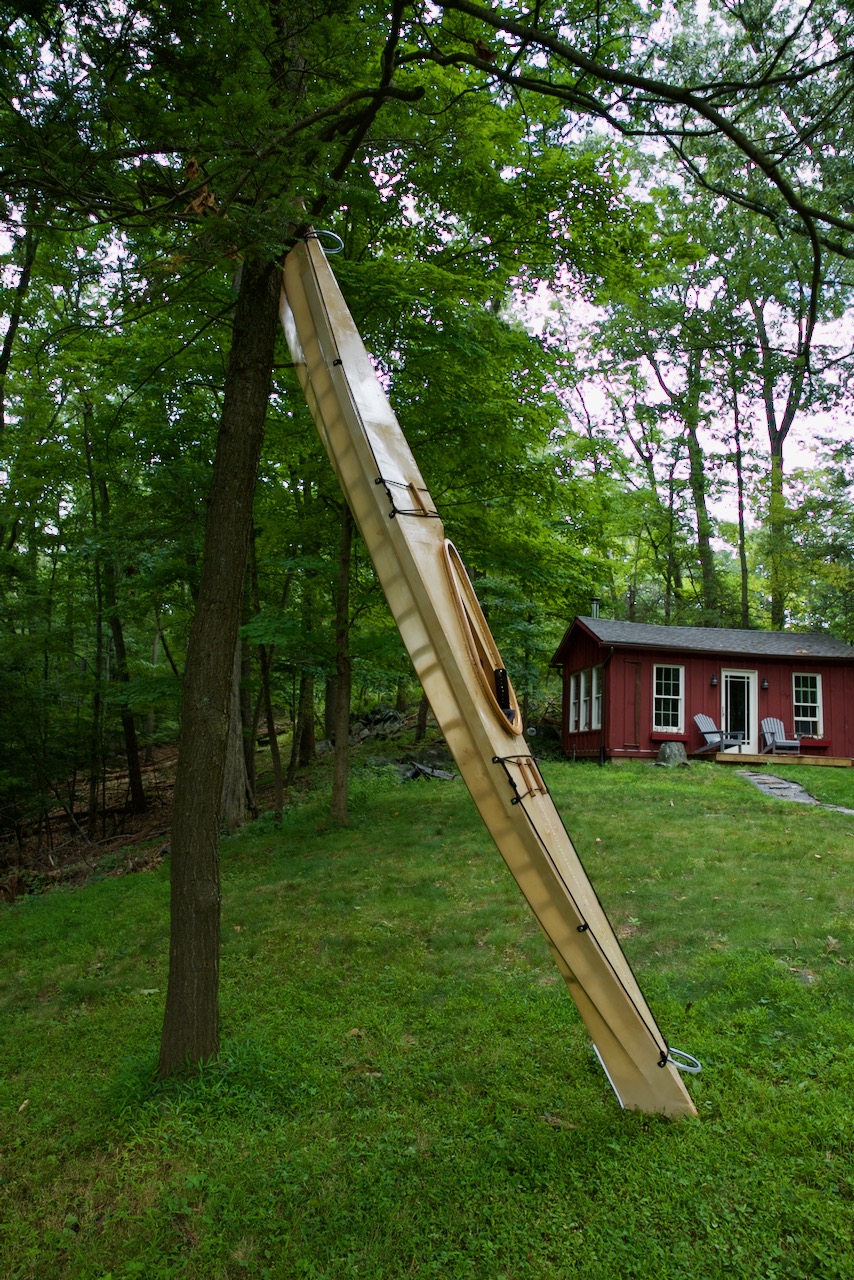
    The primary benefit of a skin-on-frame style kayak is how light it is. They end up being ~30lbs, so they are easy to carry with one arm and for one person to toss it on top of a car, not something you can do with a heavy fiberglass boat.

    These specific boats were designed by Brian Schulz of Cape Falcon Kayak and I used a combination of his excellent online courses to learn how to build them, plus the tutelage of Jack Gilman of YPRC Boatbuilders and Jon Richer of Hudson Boat Company.

    The First Build

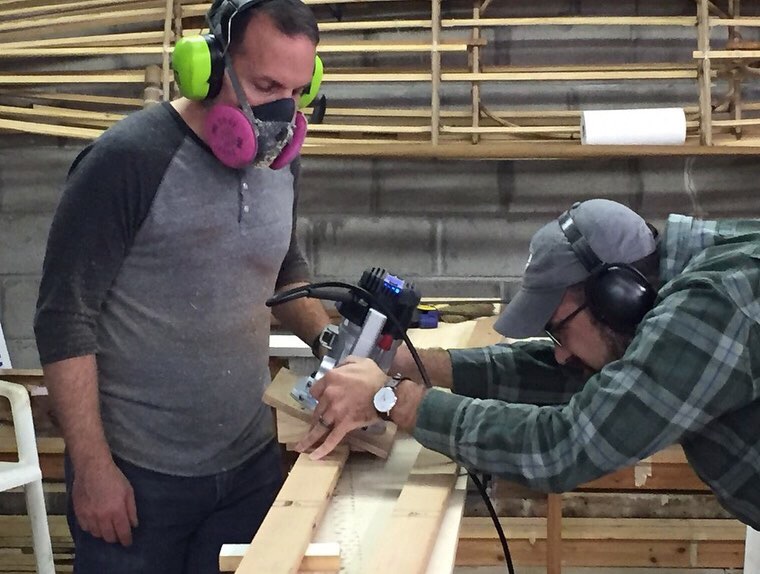
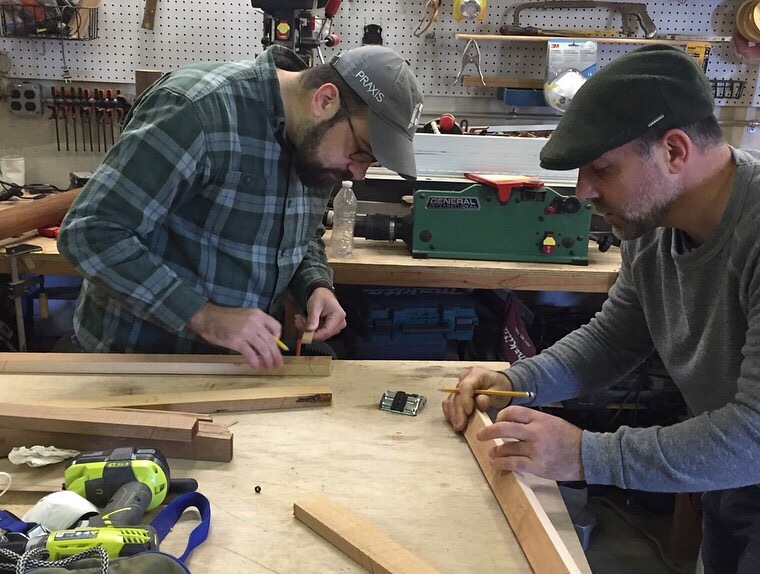
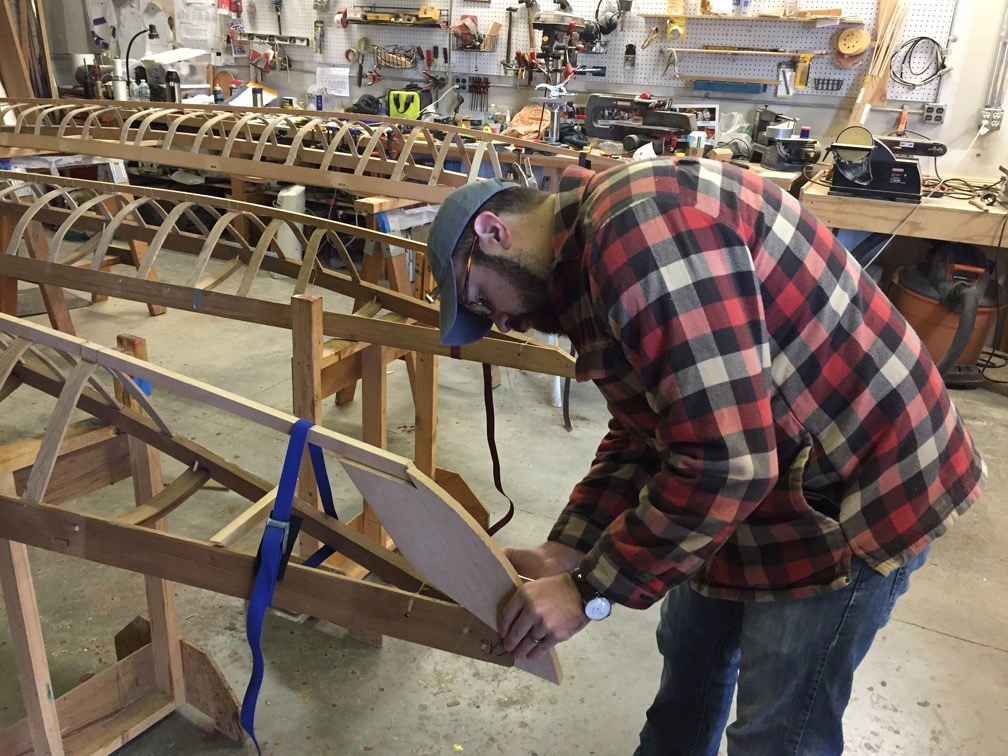
    The first build was as a group with YPRC and took place from October 2018 to May 2019, with a two month break in the middle during the coldest part of the winter. Six of us built boats together twice a week and roughly kept pace, helping each other out as we went along.

    I honed a lot of important techniques through this build:

    • chisel work
    • using transfers and offsets rather than pure measurement
    • building jigs to help build something else
    • shaping with a block plane
    • peg and lashing for connecting wood without nails or screws
    • applying polyurethane
    • steam bending
    • fixing mistakes (skin-on-frame is a forgiving medium!)

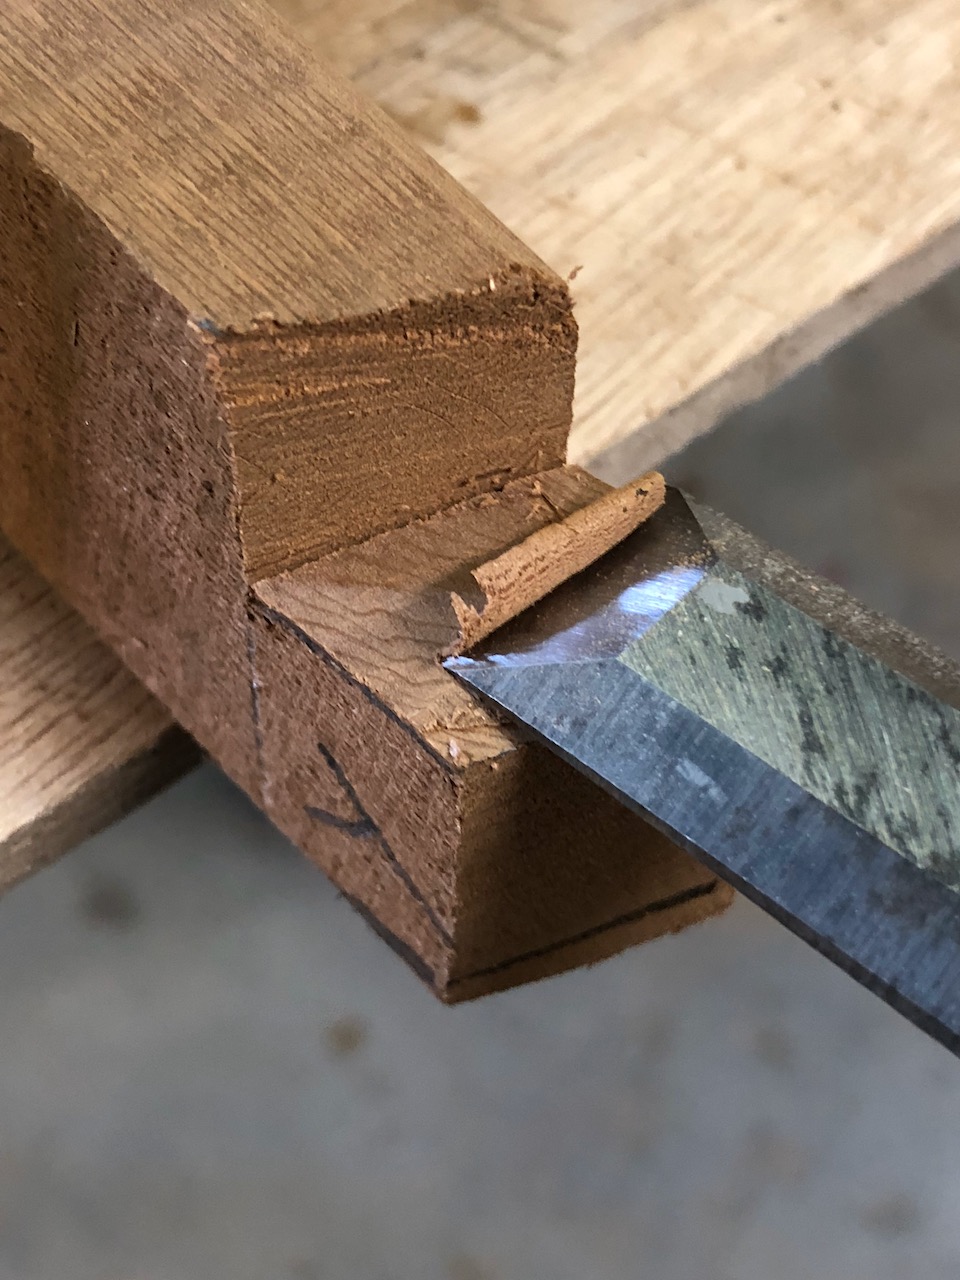
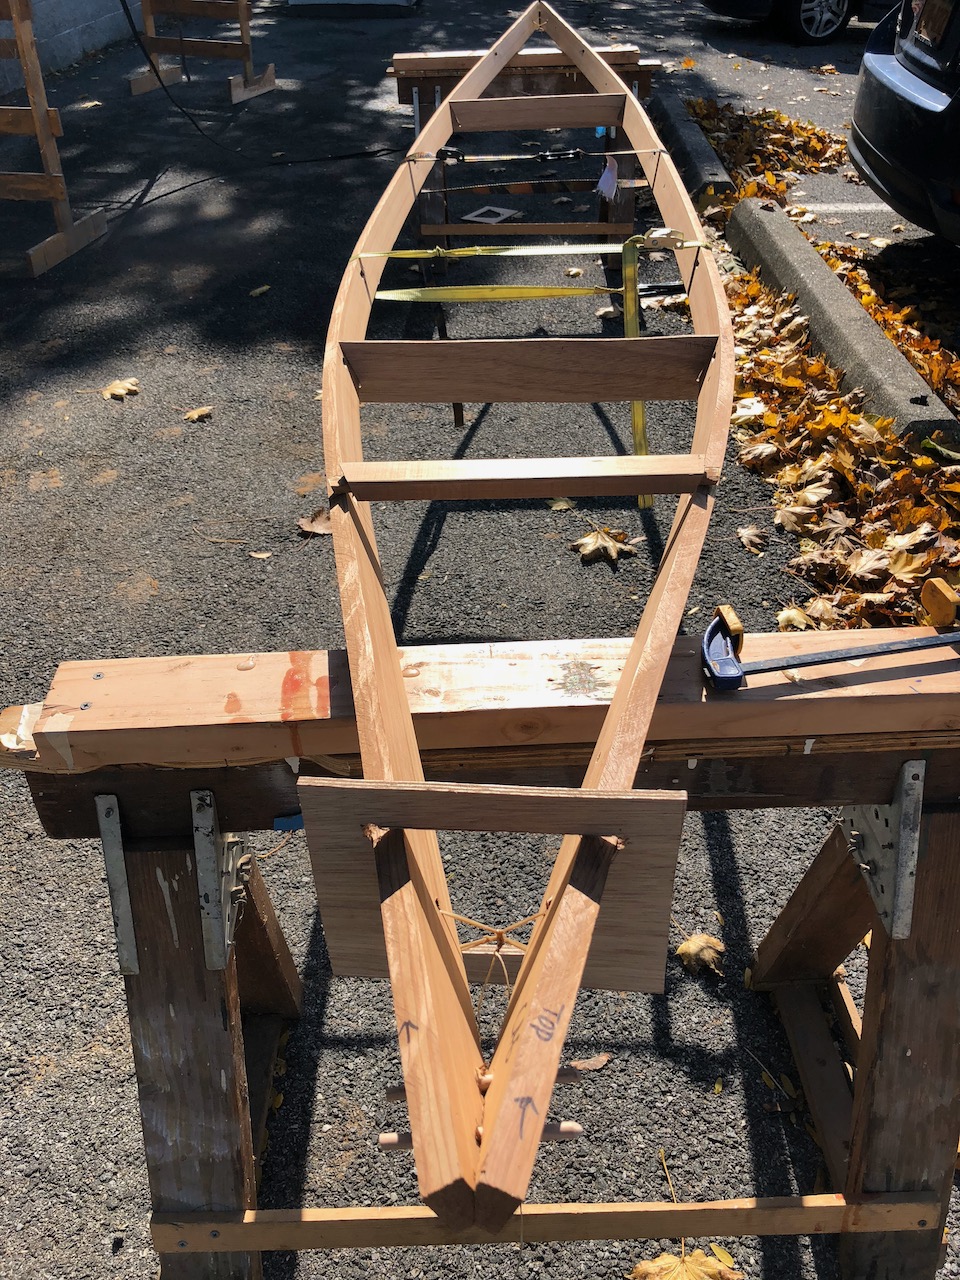
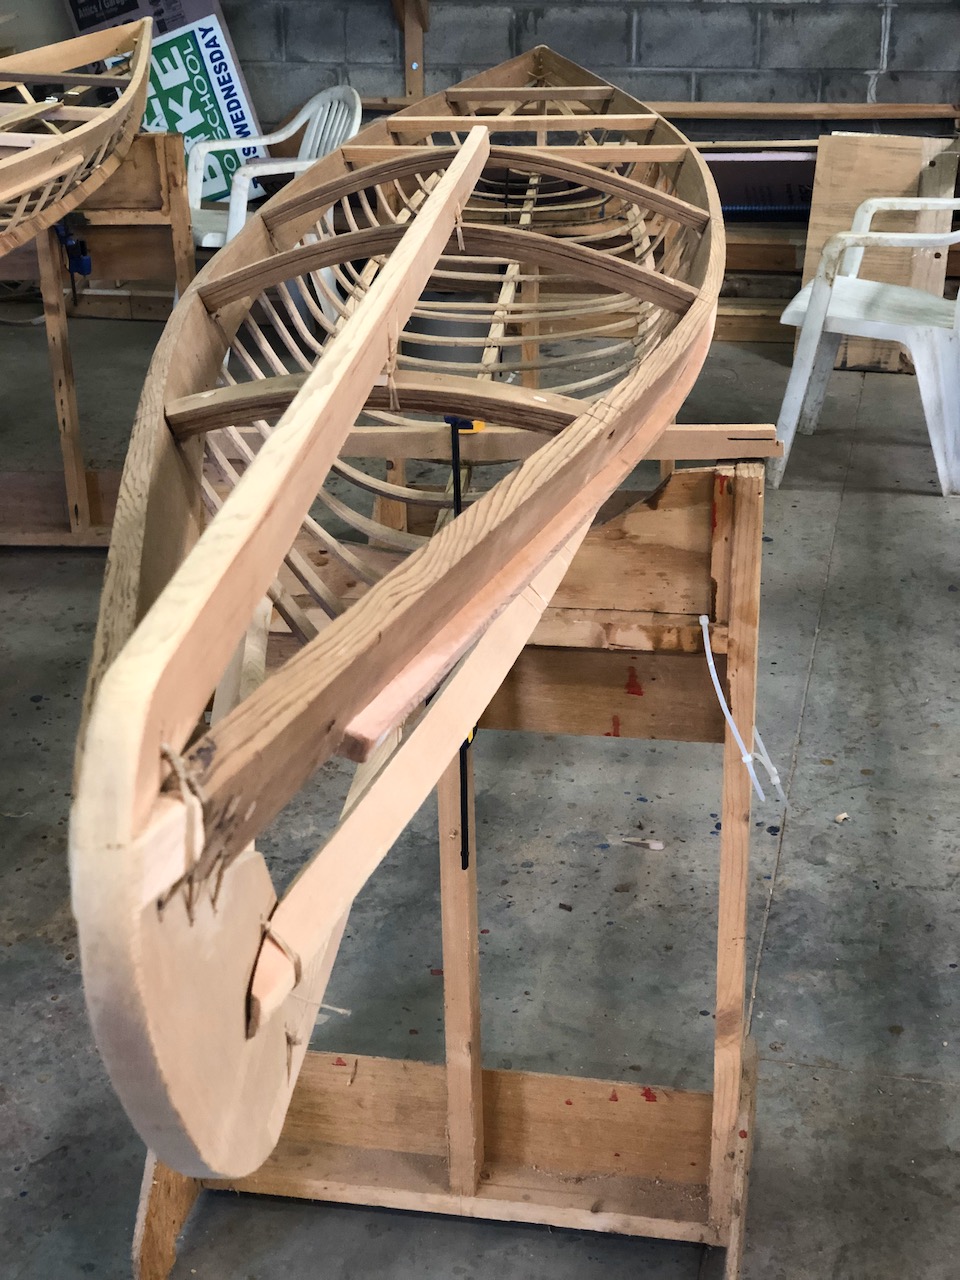
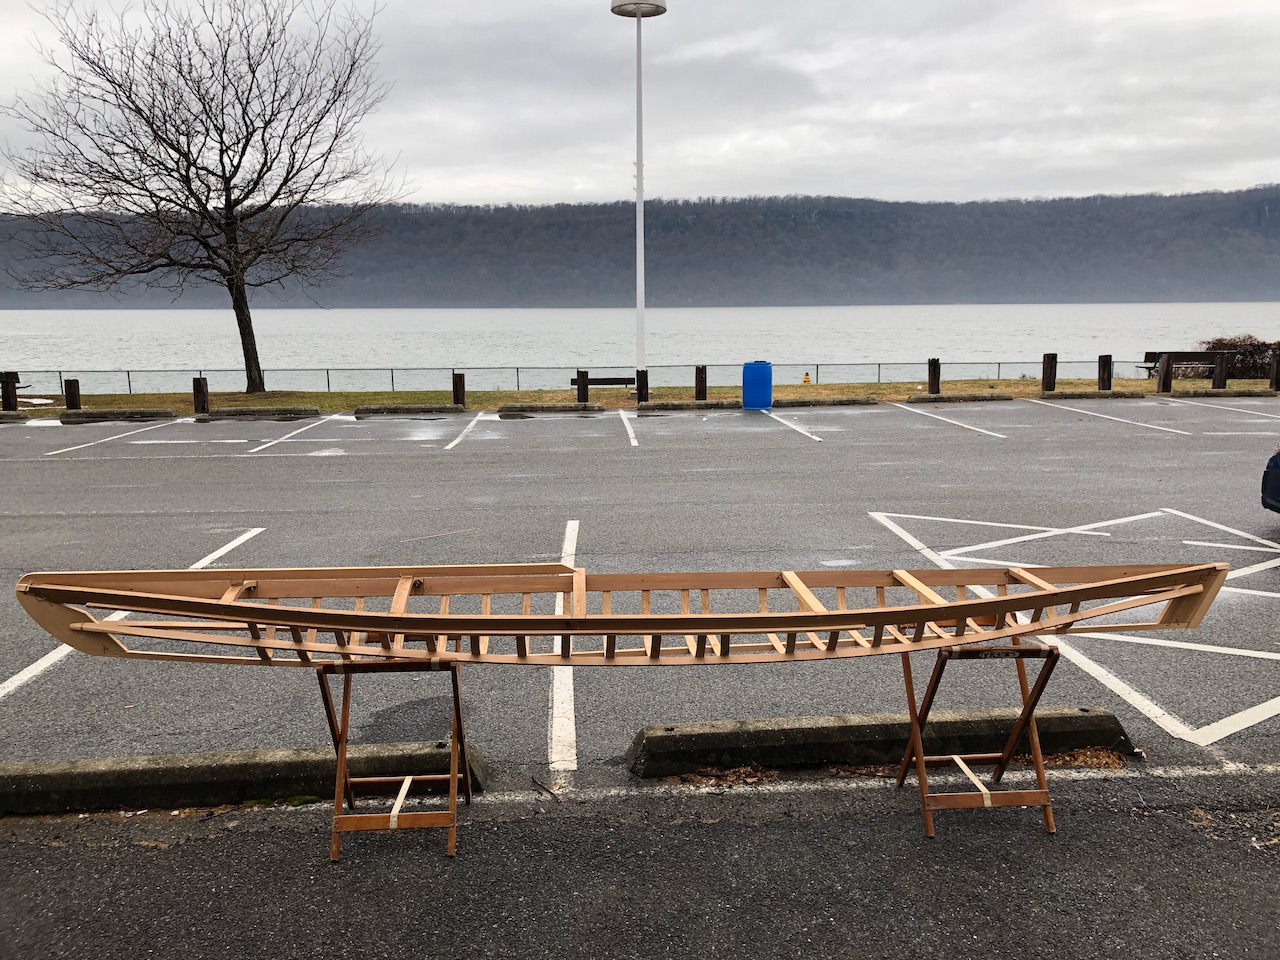
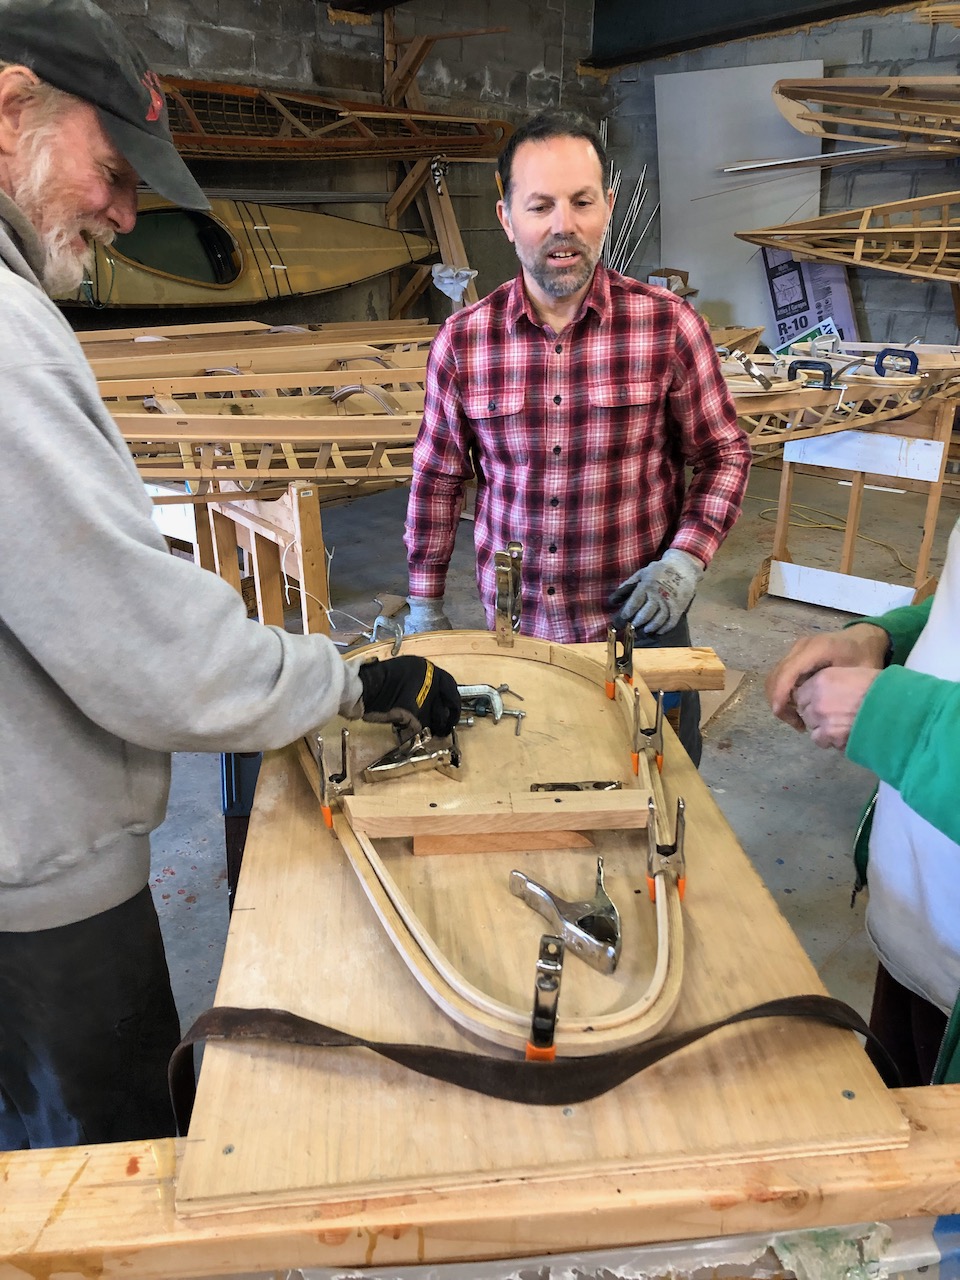
    Routing the gunwales, laminating curved deck beams, chiseling straight deck beams, and assembling the frame:

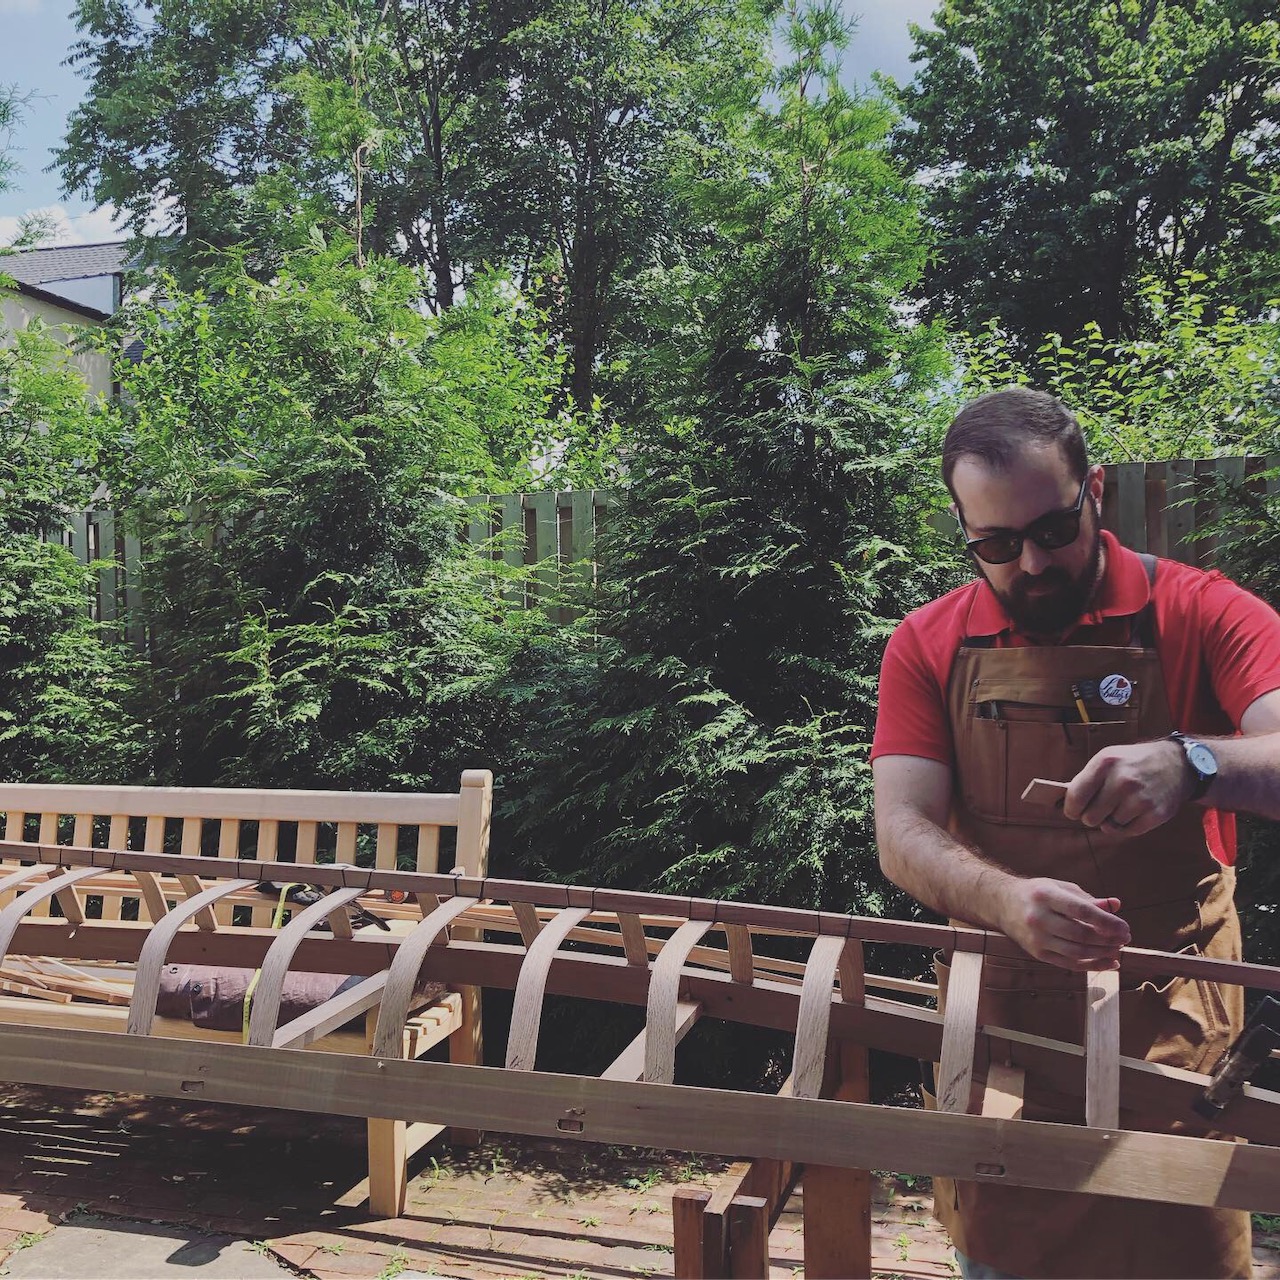
    Steam bending ribs, lashing the keel and stringers, shaping the stem, and finishing the frame:

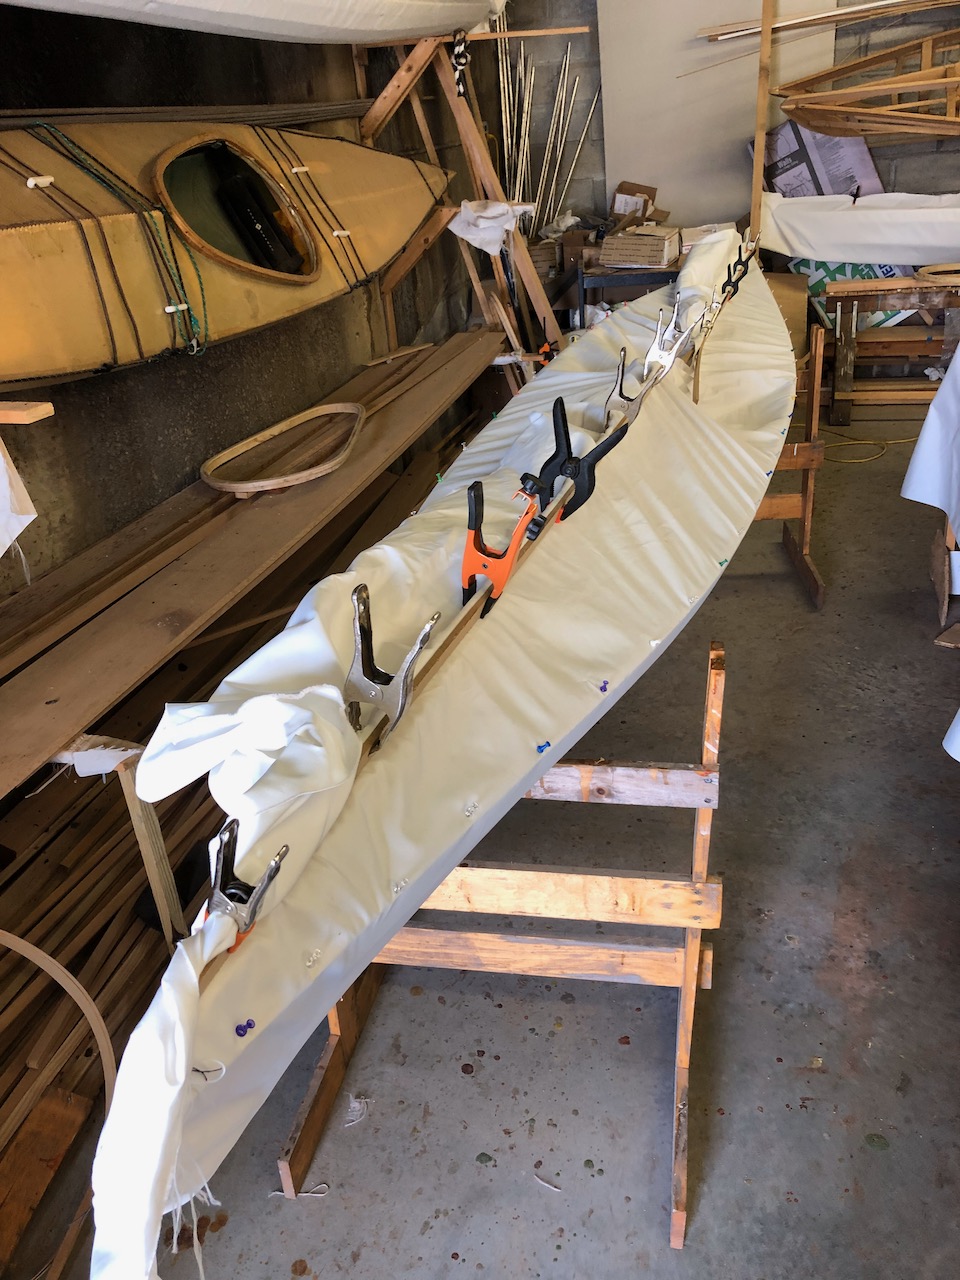
    Making coamings, cutting and sewing the skin, and applying polyurethane coating.

    The finished boat!

    The Second Build

    After learning a lot on the first build, I teamed up with Jon Richer to build another alongside him at a faster pace so that Amanda could have her own kayak to go out in, too. We built two as a public demonstration at the Edward Hopper House Museum in Nyack, NY. We knocked it out in about 4 weekends with some travel in between. I was much more confident after having built the first one, which translated to a faster build time. It was a great feeling.

    Things that we improved on the second build:

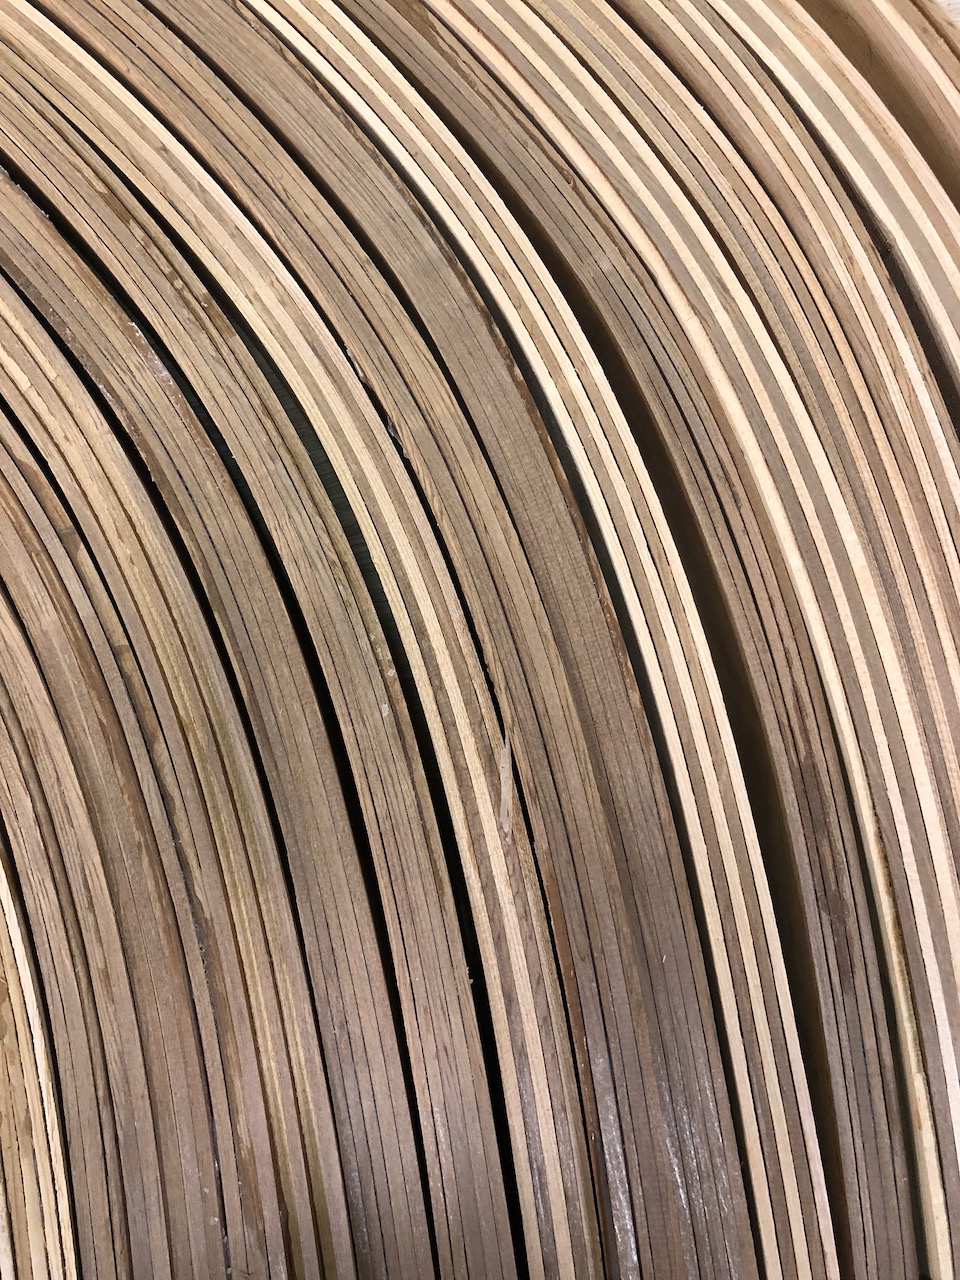
    1. We used red oak for the ribs, which bent a lot better than the ash we had in the first round.
    2. We cut all of the stock we needed in a single, albiet long, day, which saved us lots of setup time.
    3. We made the middle deck beams first, which means that if we mess up that one we can always use it for the small deck beam at the end, which is much shorter.
    4. We oiled the entire frame outside on a warm, sunny day, which allowed the oil to soak in better.
    5. We used a faster method for tightening and sewing the skin on, which made it a 4 hour endeavor instead of 2 day 8 hour endeavor.
    6. We were able to reuse some of the jigs we built in the first round, which sped things up.

    Amanda and I absolutely love our kayaks and take them out regularly, both on the Hudson and inland lakes. I get a ton of joy every time we use them. Paddling in something that you built yourself and know every single part of just can’t be beat.

  • Book Review Jekyll Collection Template


    I started taking notes on books I’m reading and collecting them on my website as reviews, so I thought I’d make the template I wrote public on Github. It is part of my ongoing set of Jekyll tools. No plugin necessary, so it should work on Github Pages.

    Download the code from my Github repository

    A working demonstration of this collection can be seen at http://cagrimmett.com/book-notes

    Here is a preview of a book review detail:

    Book review detail

    Setup

    All assets for this collection can be found in the book-reviews folder in this project.

    1) You first need to register the collection in _config.yml. Append this to the bottom of your current _config.yml or, if you already have a collection registered, add another entry. This same example is :

    # Collections collections:   book_reviews:     output: true     output_ext: .html     permalink: /book-reviews/:path/ 

    2) Place the _book_reviews folder and the book-reviews.html file in your Jekyll site root. This is the same folder that contains the _config.yml and _posts folder.

    3) If you use Sass, place the contents of _book_reviews.scss file in your main Sass file. If you don’t use Sass, you’ll need to rewrite the media queries (the first 45 lines) in regular CSS.

    4) Write your book review and place it in the _book_reviews folder (an example is included). The rating is out of 5 stars and supports half stars. The templates assume that your images are stored in an img folder in your site root. Example: yoursite.com/img/book_cover_image.jpg If you want the example_review.md to work, make sure you put img/deep_work.jpg in your site’s img folder.

    How it works

    • This is powered by Jekyll Collections. No plugin necessary.
    • I set up custom YAML metadata for the individual posts, which the landing page and detail page templates use and display. Feel free to change it to your needs. Here is an example book review post:
    ---  layout: book-reviews-template title: Deep Work - Rules for Focused Success in a Distracted World author: Cal Newport category: Self-Improvement tags:  - Time management - Work - Focus stars: 4 book-link: http://amzn.to/2gaSjqy cover: deep_work.jpg format: Audio Book date: 2016-11-28 excerpt: "Deep work is the ability to focus without distraction on a cognitively demanding task. It produces great results." --- After hearing a few interviews with Cal Newport on podcasts, I decided to pick this up. The book is divided into two main sections: The idea or "why" behind deep work, in which Newport tries to convince you it is necessary. I more or less bought in to this before listening to the book, but I listened to it anyway. The second part are the rules for how to do deep work. Newport writes this from an academic's point of view, but there are definitely universal principles you can apply.  
    • The stars are powered by some defined CSS classes, a clever span setup controlling the width for color fill, and some Liquid to calculate the CSS class value:
    {{ page.stars | times:20 | round: 0 }}" title="{{ page.stars }}/5">★★★★★

    Notes

    • If you have a custom open graph generator, you might need to add some if/elsif statements to get the cover to show in the og:image field.
    • Depending on your default layout template, you might need to edit my book-reviews.html page or the book-reviews-template.html template to work well with your layout. I’m assuming that if you use Jekyll, you probably know what you are doing. If not, drop me an email and I’ll try to help.
    • I don’t use all of the metadata on the landing page. I leave some items for the detail page. Feel free to change it to your liking.

    Download the code from my Github repository

  • Category Filtering with Isotope in Jekyll


    This is the most recent addition to my Jekyll Tools repository on GitHub. Isotope is a popular jQuery filtering and sorting plugin. I combined it with Liquid to generate category filtering in Jekyll.

    You can see it in action at http://cagrimmett.com/category-isotope/.

    You can find the code for this in my Jekyll Tools repo on GitHub.

    This works by using YAML front matter to set categories and then outputting those categories as buttons and class names to work with the Isotope plugin.

    Generate the buttons from categories:

     class="button-group filter-button-group"> 	{% for category in site.categories %} 		 class="button" data-filter=".{{ category | first }}">{{ category | first }} 	{% endfor %} 		 class="button active" data-filter="*">All 

    Generate your posts:

      class="grid"> 	{% for post in site.posts %}       class="element-item {{ post.category }}">          class="post-meta">{{ post.date | date: "%b %-d, %Y" }}          

    class="post-link" href="{{ post.url | prepend: site.baseurl }}">{{ post.title }}

    {{ post.excerpt }}

    {% endfor %}

“All” is selected by default. The other buttons come from the category you specify at the top of a post in your YAML front matter.

Include the jQuery and Isotope libraries, then set up the functions to trigger the filtering and setting an “active” class on your buttons so you can highlight the active one:

  
// init Isotope var $grid = $('.grid').isotope({   // options }); // filter items on button click $('.filter-button-group').on( 'click', 'a', function() {   var filterValue = $(this).attr('data-filter');   $grid.isotope({ filter: filterValue }); }); $('.button-group a.button').on('click', function(){ 	$('.button-group a.button').removeClass('active'); 	$(this).addClass('active'); });